Houdini at school
Houdini - What's different at school?
Houdini at school isn't all that different from stock Houdini, however there are a couple of things to note.
Color management
Color management is globally configured for all our applications at school and Houdini is no exception. Luckily you don't have to worry about this too much. Textures going into Houdini should already be in ACEScg and your renders will automatically be in ACEScg as well. Sometimes you might have to set some color transforms on textures, for which a reduced list of common options will be available in the regular image nodes.
Render engines
You'll see a big list of Houdini versions when you open the Windows start menu:
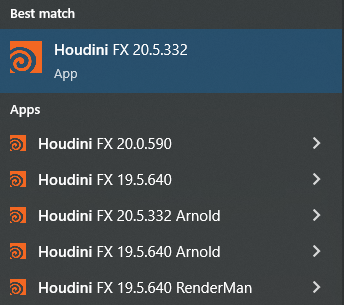
By default external render engines are disabled when you open Houdini. In order to use those render engine you'll have to open the correct Houdini version that has the name of the render engine next to it.
Houdini launched using ShotGrid will look at the ShotGrid render engine setting to determine which render engines should be enabled when Houdini starts.
Extra tools
Depending on the Houdini version a couple of additional tools are available. The most notable of these are Axiom Solver and Groombear. Pretty much all of our custom Houdini tools are only available when working in our ShotGrid pipeline.
Houdini - Rendering on the farm
You'll probably want to render your Houdini projects on our render farm. First you need to make sure that all the files used in your Houdini file (and the Houdini file itself of course) are stored on our Storage server. You should also make sure the output path on your render settings is set to a location on our storage server, like this example:

Next up you'll need to go over to the out network, this is where we hook up our Houdini nodes to the render farm. Create a fetch node and set the source to the node that should be used to render with, like this:

Then add a deadline node and connect the fetch node to it:

This node has a couple of parameters, most of which you can leave default. You should make sure your frame range is set properly and also make sure to change the job name to something descriptive. If your render is very lightweight you might want to change the concurrent tasks option in the Job Options tab to something a bit higher.
Make sure to set the frame range properly on both the deadline node and the fetched node that should be rendered.
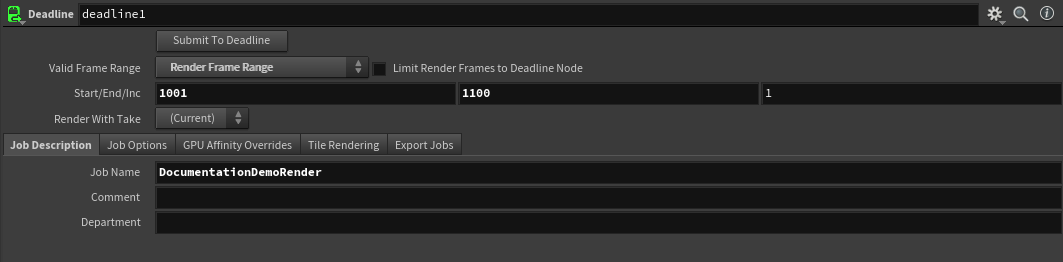
You can now submit your render to our farm by pressing the Submit To Deadline button.
Houdini - USD workflow
How to setup a USD workflow on a Shotgrid project
Setup Step by Step Guide
Opzetten van de workflow.
Stap 1: het opzetten in shotgrid
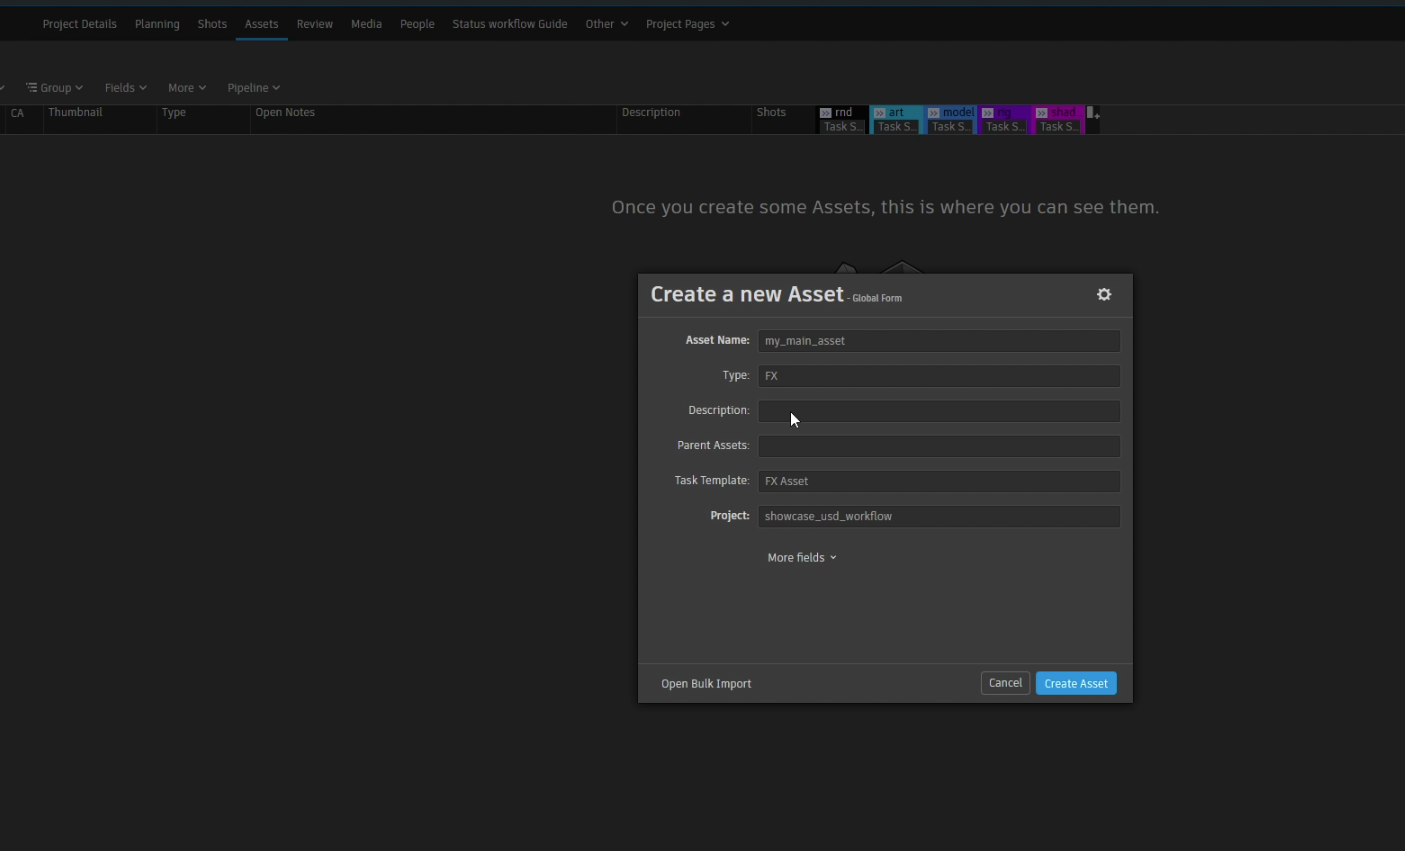
Als je een project hebt aangemaakt met de NFA Shotgrid Project Creator dan kun je naar Assets navigeren.
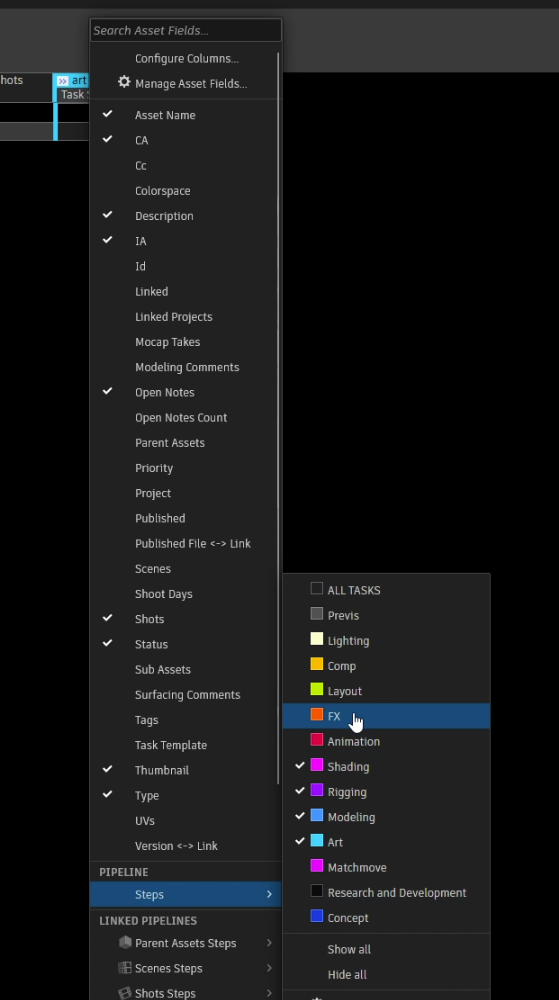
Bij assets moet je een task aanmaken en daar moet het volgende bij zitten:
- Asset Name
- Type: mag op FX mag ook CFX wat je zelf fijn vind
- Task Template: HEEL BELANGRIJK!!! We hebben een FX task nodig anders werkt het niet.
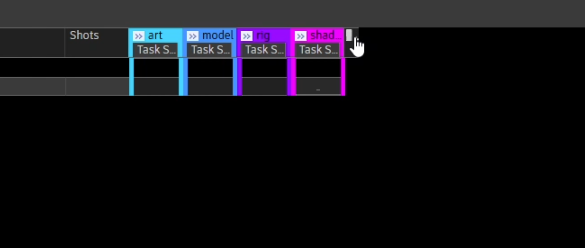
Als je wat lekkerder wil kijken naar je tasks dan kun je op het plusje klikken en dan navigeren naar:
Pipeline->steps->FX
Stap 2: Houdini Setup
Nu je de FX task hebt gemaakt kun je in houdini daar een file aanmaken.
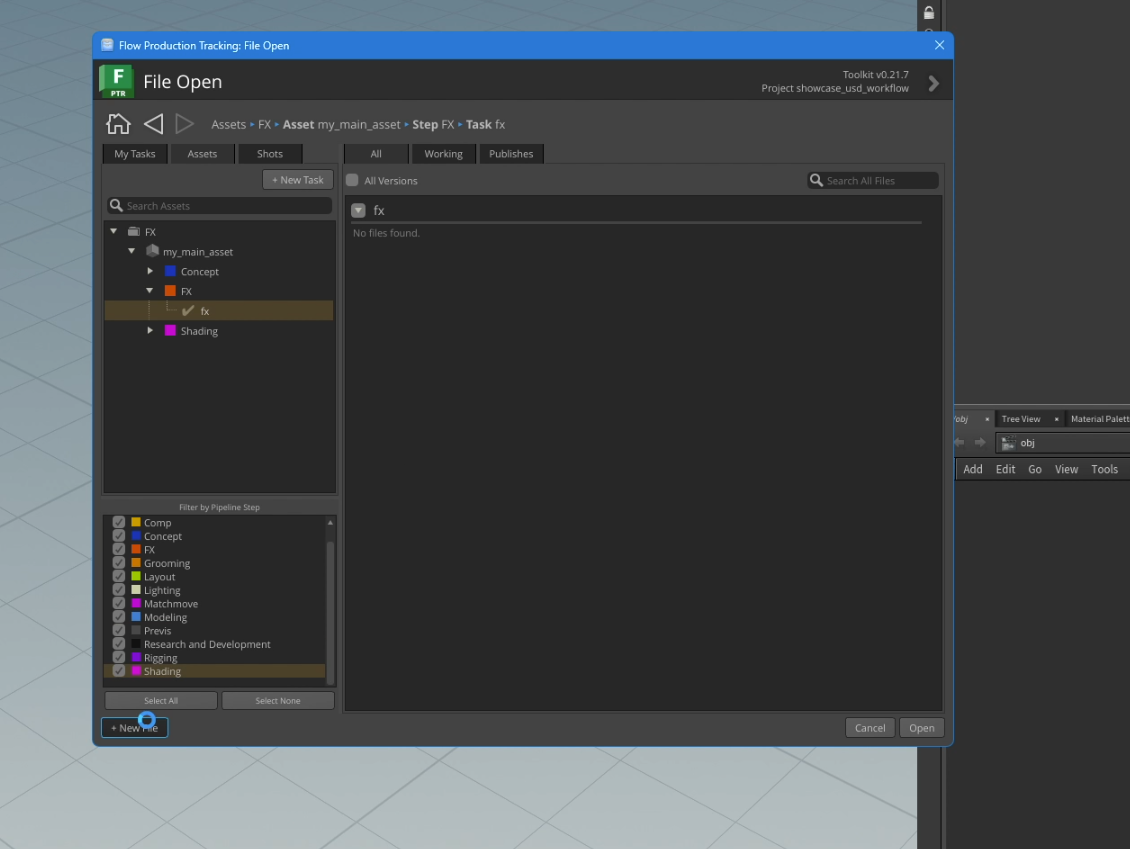
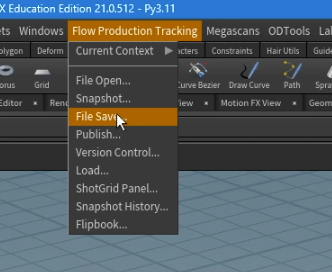
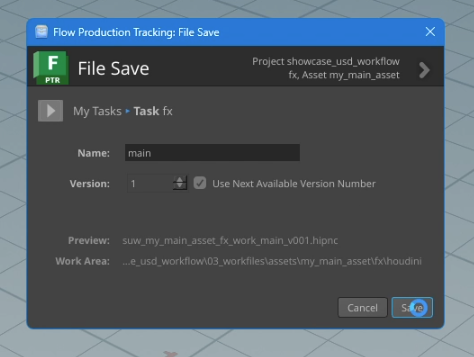
Vergeet natuurlijk niet even je bestand op te slaan.
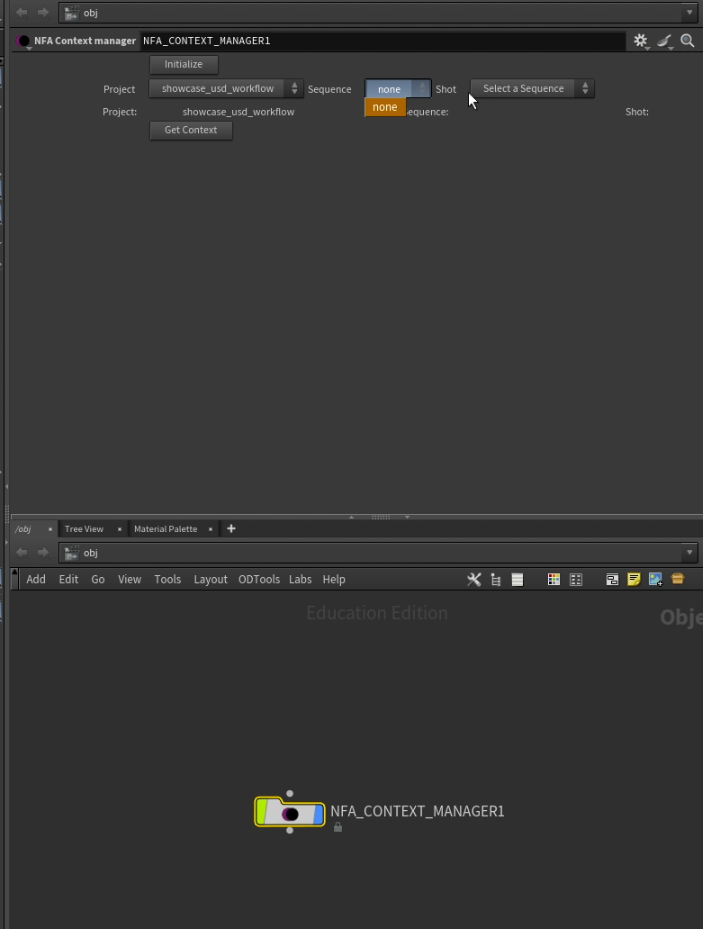
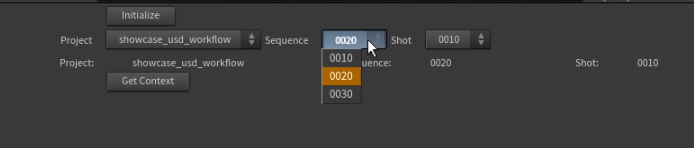
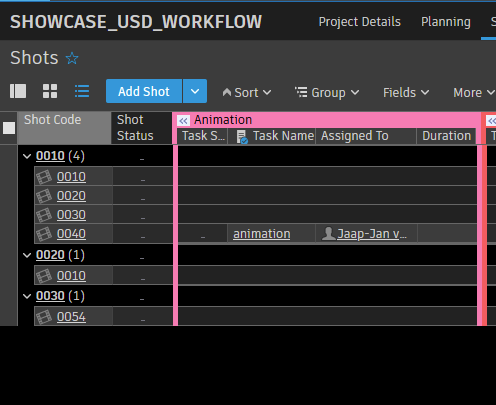
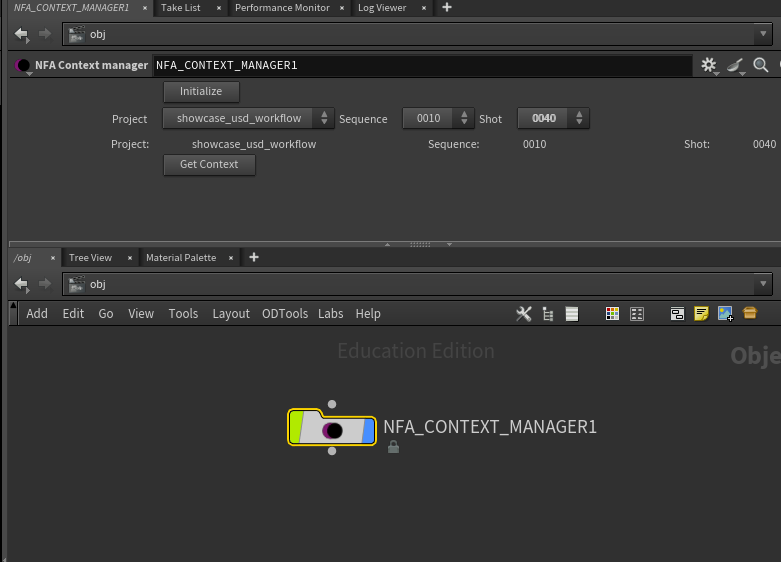
Maak daarna de NFA_Context_Manager node aan op OBJ level en selecteer de context (Scene - Shot nummer). Als er geen context te selecteren valt dan moet je eerst in Shotgrid wat shots aanmaken. Houdini dropdown menus doen soms een beetje gek, dus het is fijner om minstens 2 sequences te hebben, anders selecteerd hij niks.
LET OP BELANGRIJK!!!
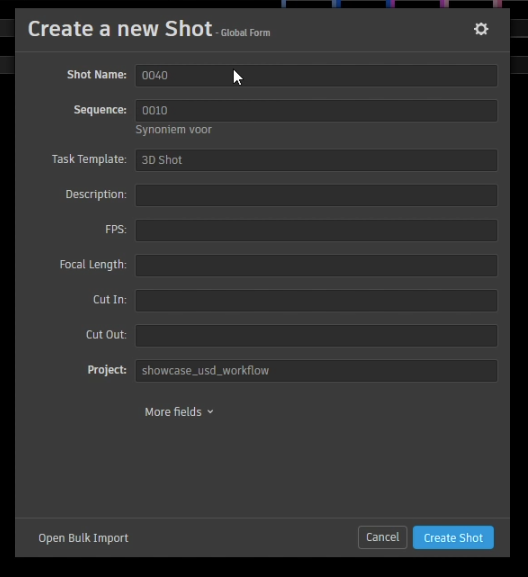
als je een shot aanmaakt bij Shotgrid Shots, klik hier dan wel even bij 'Task Template' op '3d Shot', dan zijn er gelijk FX tasks en die zijn nodig. ZEG TEGEN JE SUPERVISERS DAT ZE WEL MENSEN ASSIGNEN OP FX TASKS ALS ZE DIE HEBBEN, ANDERS KRIJGEN ZE GEEN FEEDBACK. De FX task is namelijk nodig zodat je jouw playblasts in de Asset-FX dankzij de juiste context options hier dan uitkomen bij de Shot-FX task.
Selecteer de context die je wilt en klik op Get Context.
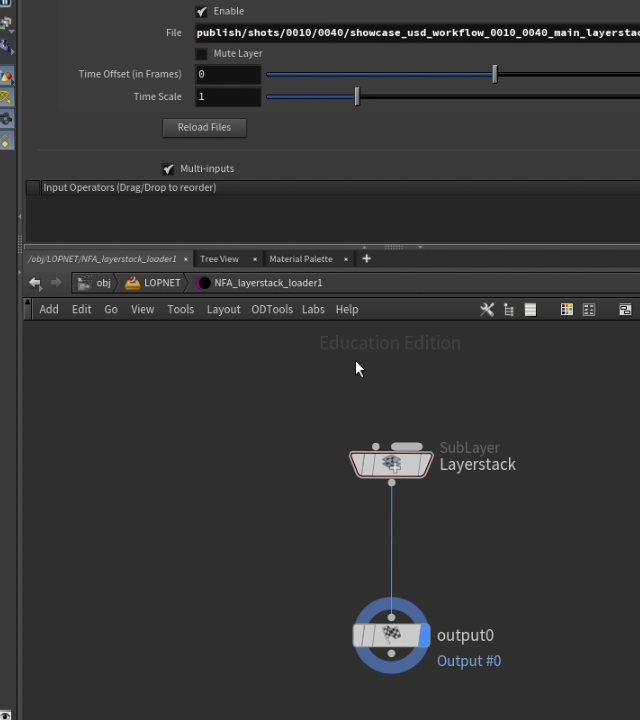
Als je op get context hebt geklikt zal er een LOPNET aangemaakt worden met een usdloader. in deze loader haalt hij de usda binnen. en inderdaad deze is natuurlijk nog leeg want er is niks naar toe geschreven.
Stap 3: FX uitschrijven
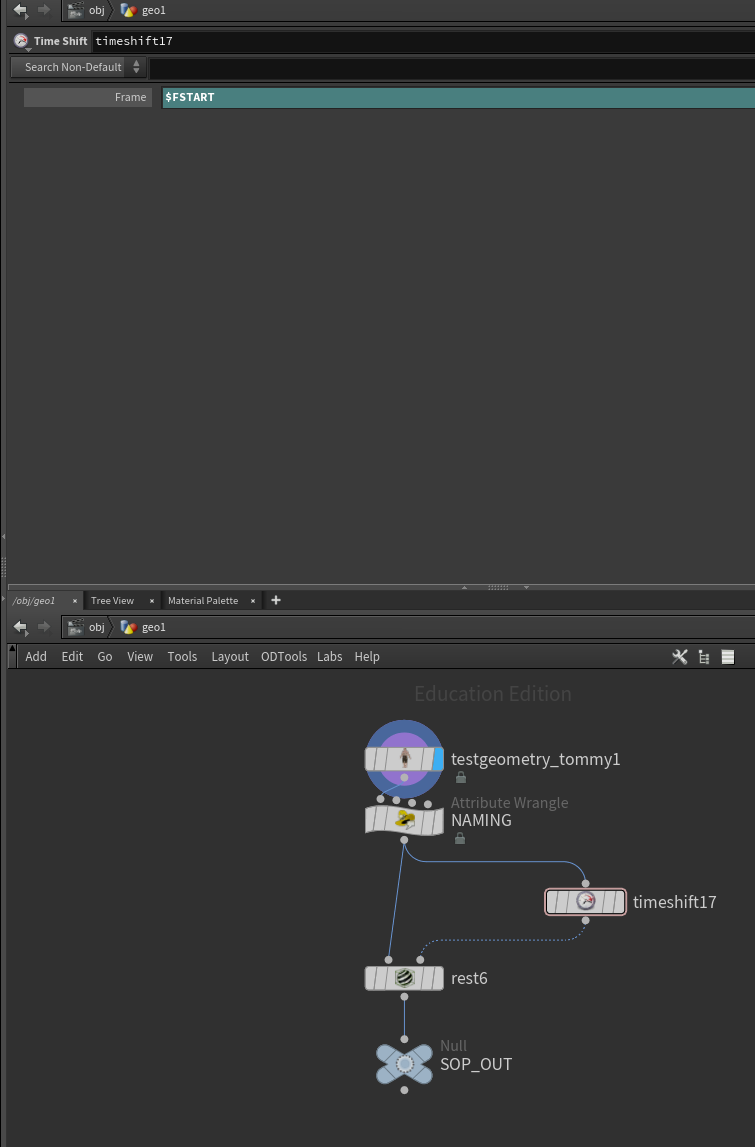
een rest kan ook geen kwaad
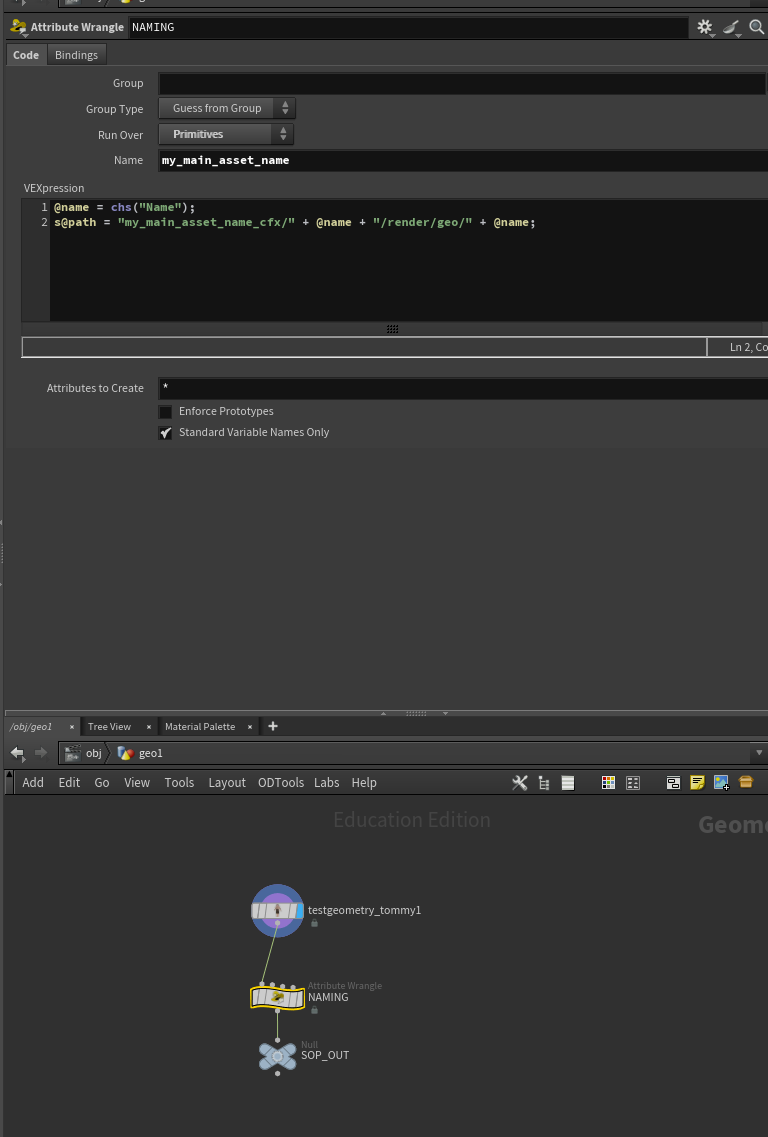
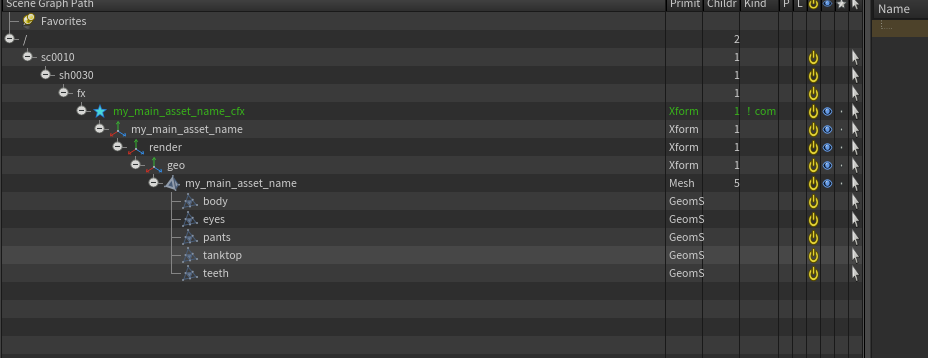
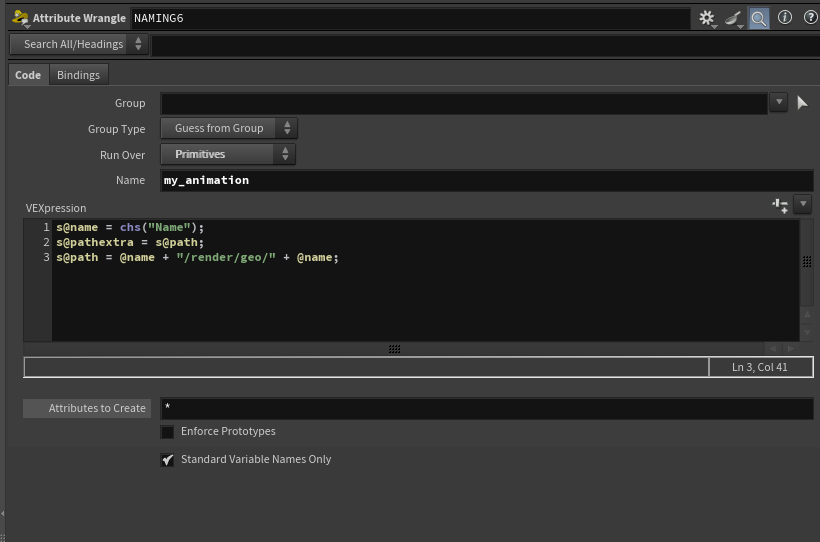
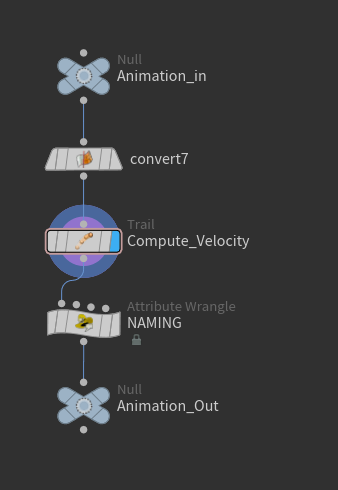
je FX schrijven begint bij SOPS. Met een attribute wrangle maak je de gewenste prims op een methode zoals je hierboven ziet.
Ga vervolgens in de LOPNET (die aangemaakt wordt door de contextmanager en waarin dus de layerstack zit.)
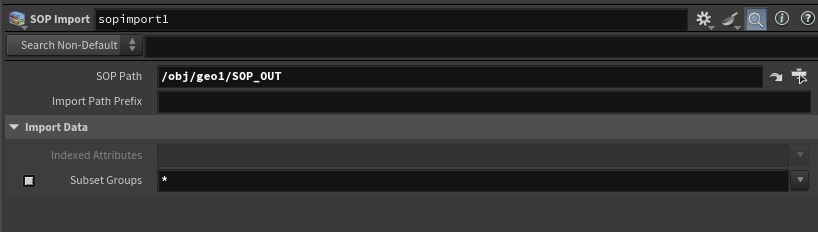
Maak hierin een sopimport met de deze gewijzigde values:
- soppath
- import path prefix = leeg
- subset groups = *
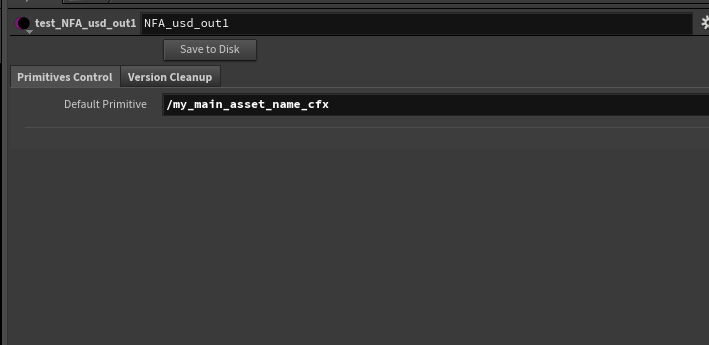
Maak een NFA_USD_Out node aan. hierin moet je dan bij Default Primitive even je main naam gooien.
en daarna druk je op Save to Disk
Klik opnieuw bij de ContextManager op 'get context' en als je dan kijkt door de Layerstack dan zul je render zien.
dit zou er dan zo uit moeten zien.
Als je voor elke template de naamgeving verandert dan krijg je mooie geordende mapjes
Stap 4: Animatie uploaden
Als je je shots hebt aangemaakt met de 3d shot task template dan heb je al een animatie task, zo niet dan moet je die even aanmaken.
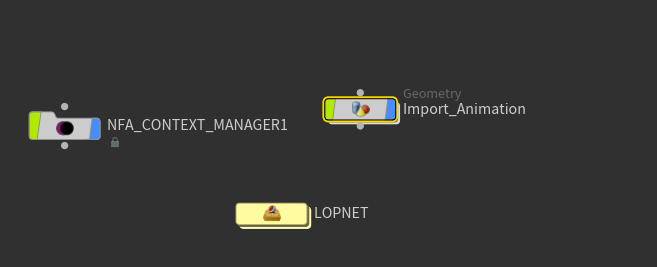
Maak een houdini bestand aan en save hem natuurlijk en maak dan weer een context manager aan waarin je de context aangeeft en je de layerstack weer ophaalt met get context.
Maak daarna even een geo node aan, hierin gaan we de animatie importeren van jouw gewenste programma. Als je met maya werkt dan kun je het met shotgrid inladen als je het daarmee ook gepublished hebt. Met blender moet je het even handmatig doen.
Je kan in die geonode ook een hele setup maken maar dat hoeft niet perse, het komt uiteindelijk weer aan op de correcte primitives.
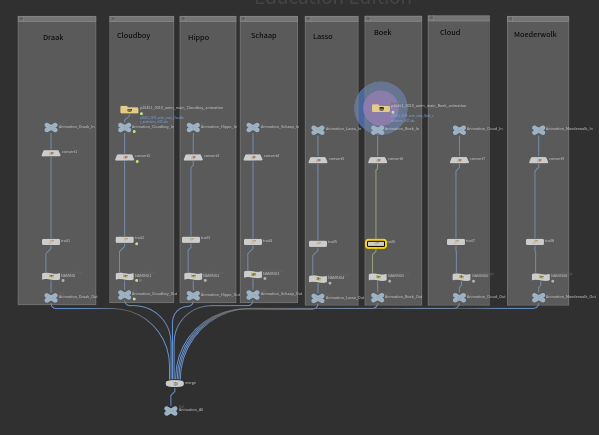
Daarna doe je weer dezelfde truc in je LOPNET en doe je een sopimport en een usdout met de correcte default primitive
DEBUGGING/FAQ
Mocht je met je layerstack krijgen dat je bestand na het schrijven leeg is dan heb je waarschijnlijk de verkeerde primitives gebruikt.
Zorg er altijd voor dat je primpath correct is zodat alles netjes gesorteerd wordt en op de juiste plek komt.
Hoe werkt het allemaal (voor pipeline nerds)
Context Options:
De layerstack werkt doormiddel van Context options
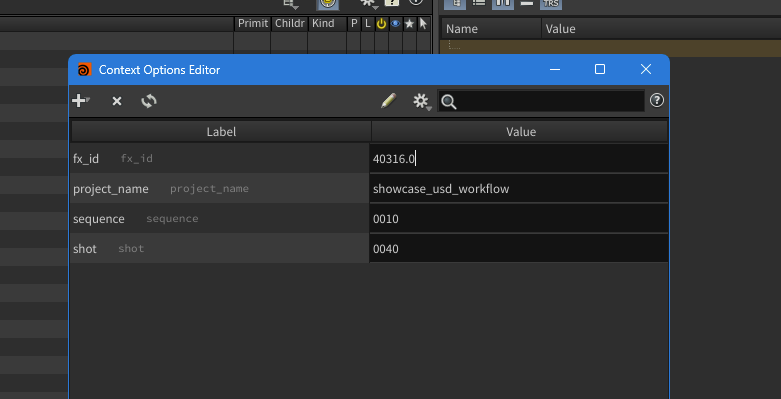
Dit vind je onder Edit-> Context Options
Dit is gewoon een plekje van houdini waar je jouw variables kan opslaan en opvragen.
Alle nodes en Python
Alle code staat hier:
C:\pipeline\houdini\hsite\houdini21.0\python3.11libs
dit kun je aanpassen via onze gitlab
Alle nodes staan hier:
C:\pipeline\houdini\hsite\houdini21.0\otls
ook dit pas je aan met gitlab
Bijna alle nodes zijn nu gemaakt met de HDABuilder.py
ik zou hoopte alles daarmee uiteindelijk omgeschreven te hebben maar ben daar nog niet aan toegekomen. Voor nu zijn alleen de Dopswitch, Usd out, en filecache met code gemaakt.
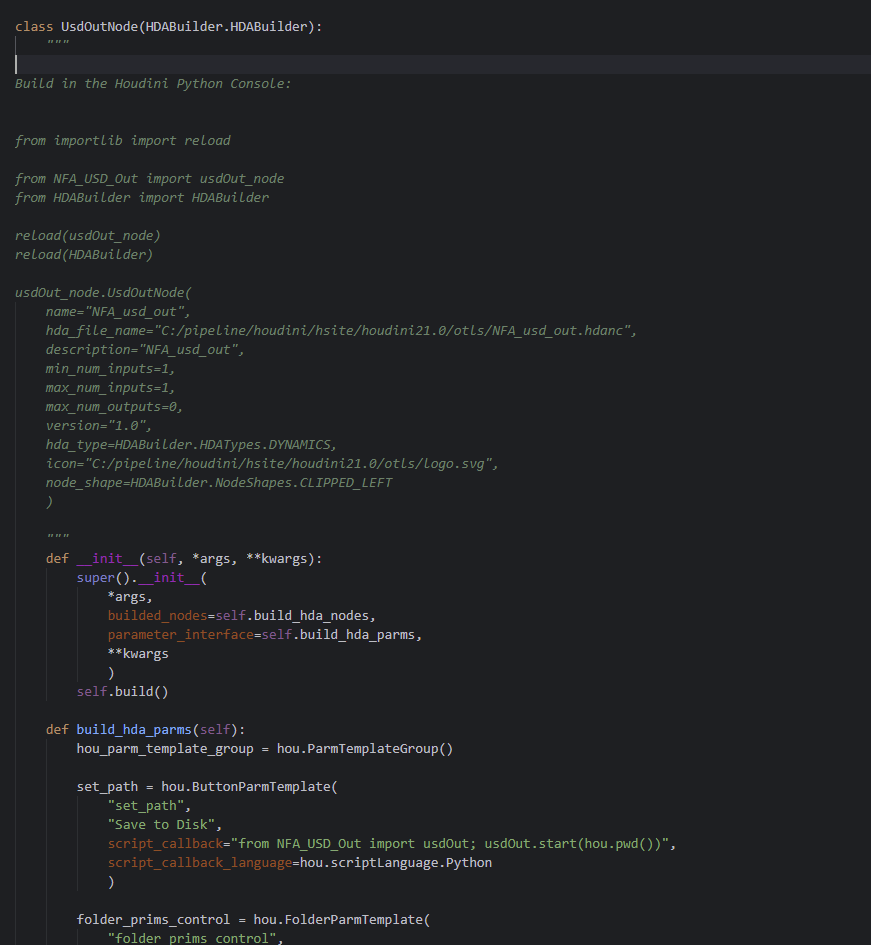
Dit is efficienter en toekomst bestendiger zodat je snel in je console een hda kan bouwen voor een nieuwe houdini versie en in de pipeline kan zetten.
NFA Switch, NFA Filecache en NFA deadline nodes
NFA Switch

Soms wil je bepaalde inputs veranderen tussen shots door. dit kun je makkelijk op deze manier in je nodetree sorteren.
LETOP!
De eerste input pakt hij altijd als hij tussen alle andere inputs geen vergelijkbare naam kan vinden. Deze moet je all_ noemen. en er mag een cijfer achter, het belangrijkste is dat er een underscore staat.
Al je andere nodes moeten een naam hebben zoals jouw context eruit ziet. dus scene_shot_cijfer (cijfer want je wil natuurlijk meerdere switchnodes in je tree kunnen plaatsen en als je hier geen cijfer doet dan heet hij natuurlijk automatisch 0010_0011 en dat is niet de context)
NFA Filecache

Deze cachenode plaatst alle caches in de juiste context. Belangrijk is vooral de taskname. Deze name wil je natuurlijk 1 keer zetten en niet meer veranderen zodat je altijd tijdens het verwisselen van context de juiste cache weer inlaadt.
FX Cache renderen
Maak een ropnet aan en noem hem ROPNET.
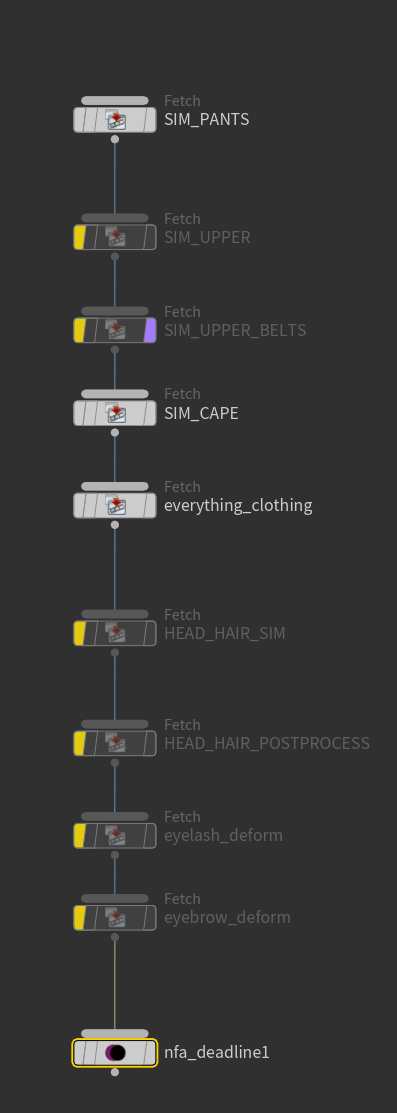
Als je meerdere fetches wil gebruiken kun je met de NFA_Deadline de Frames per task, de Concurrent task en de Priority aanpassen op individuele render.
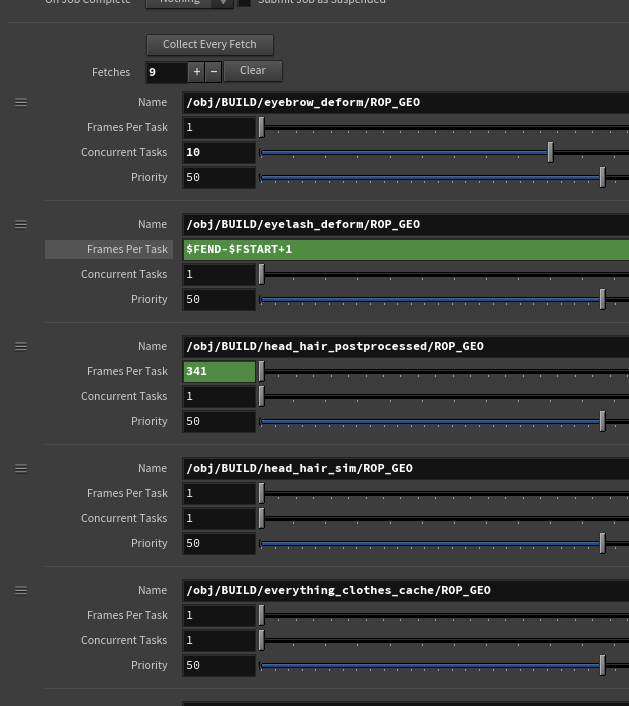
Let op BELANGRIJK!
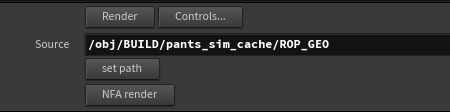
De Fetch moet een direct pad krijgen naar de ROP_GEO in de filecache. Op deze manier kun je een 'set path' knop en een 'NFA render' knop krijgen.