Using our ShotGrid pipeline
General guides on using our ShotGrid pipeline.
- ShotGrid - Pipeline - Start here!
- ShotGrid - Pipeline - General overview
- ShotGrid - Pipeline - Creating a project
- ShotGrid - Pipeline - Opening software
- ShotGrid - Pipeline - Ingesting footage
- ShotGrid - Pipeline - File management
- ShotGrid - Pipeline - Version control
- ShotGrid - Pipeline - Delivery
ShotGrid - Pipeline - Start here!
If you're new to the Netherlands Filmacademy and new to the VFX industry in general you might be wondering a few things:
- What is ShotGrid and why are the third and fourth years mentioning it so much?
- Everybody keeps using the word pipeline, but what does that even mean??
- How do ShotGrid and pipeline relate to each other?
What is ShotGrid?
ShotGrid is a product owned by Autodesk that makes the whole process of VFX production much more streamlined. It's a combination of planning tools, review tools and software integrations that makes working on large projects much easier. In your first and second year at the Filmacademy you likely won't need it, as it only becomes truly useful on larger projects. The planning and review tools are available on our ShotGrid website: nfa.shotgunstudio.com. The software integrations are available when you launch programs through the ShotGrid launcher (see this page).
ShotGrid was recently renamed to Flow Production Tracking. Nobody calls it that. It used to be called ShotGun, so some people might still call it that.
What's a pipeline?
Pipeline is a word you'll hear a lot in this industry. You can think of it like a workflow; how does one thing flow into another thing during the VFX creation process? You've made a model in Maya, how does it end up in Substance? How do the textures get assigned and how does the shaded model end up in your render? It's a confusing word because it's used for both big and small workflows, a rigging pipeline refers to all the steps in the rigging process, a compositing pipeline will most likely refer to just the steps taken in Nuke. When talking about a studio pipeline we mean the combination of all of these smaller workflows that form the complete picture of how we get from zero to our final VFX shots.
ShotGrid pipeline?
ShotGrid provides a platform that studios can use to automate a lot of pipeline steps. This platform is available inside software such as Nuke and Houdini when you launch them using the special ShotGrid launcher. When we talk about our ShotGrid pipeline, we talk about how all our software and their integrations using this platform work together with the review tools and planning tools on the website to provide one streamlined VFX creation experience.
On a smaller project things like exporting some Maya animations, setting up file paths for some renders, sending a preview MP4 to your director, planning artists in an Excel sheet, etc, can all be done manually and it wouldn't be much work. But once the shots starts entering the dozens it quickly becomes an organizational nightmare to keep track of all these files, export settings, artist planning etc. Our pipeline takes care of all of these tedious things so artists can just focus on their creative work. A good pipeline makes the whole production process go way smoother and allows artists to focus on just the creative work.
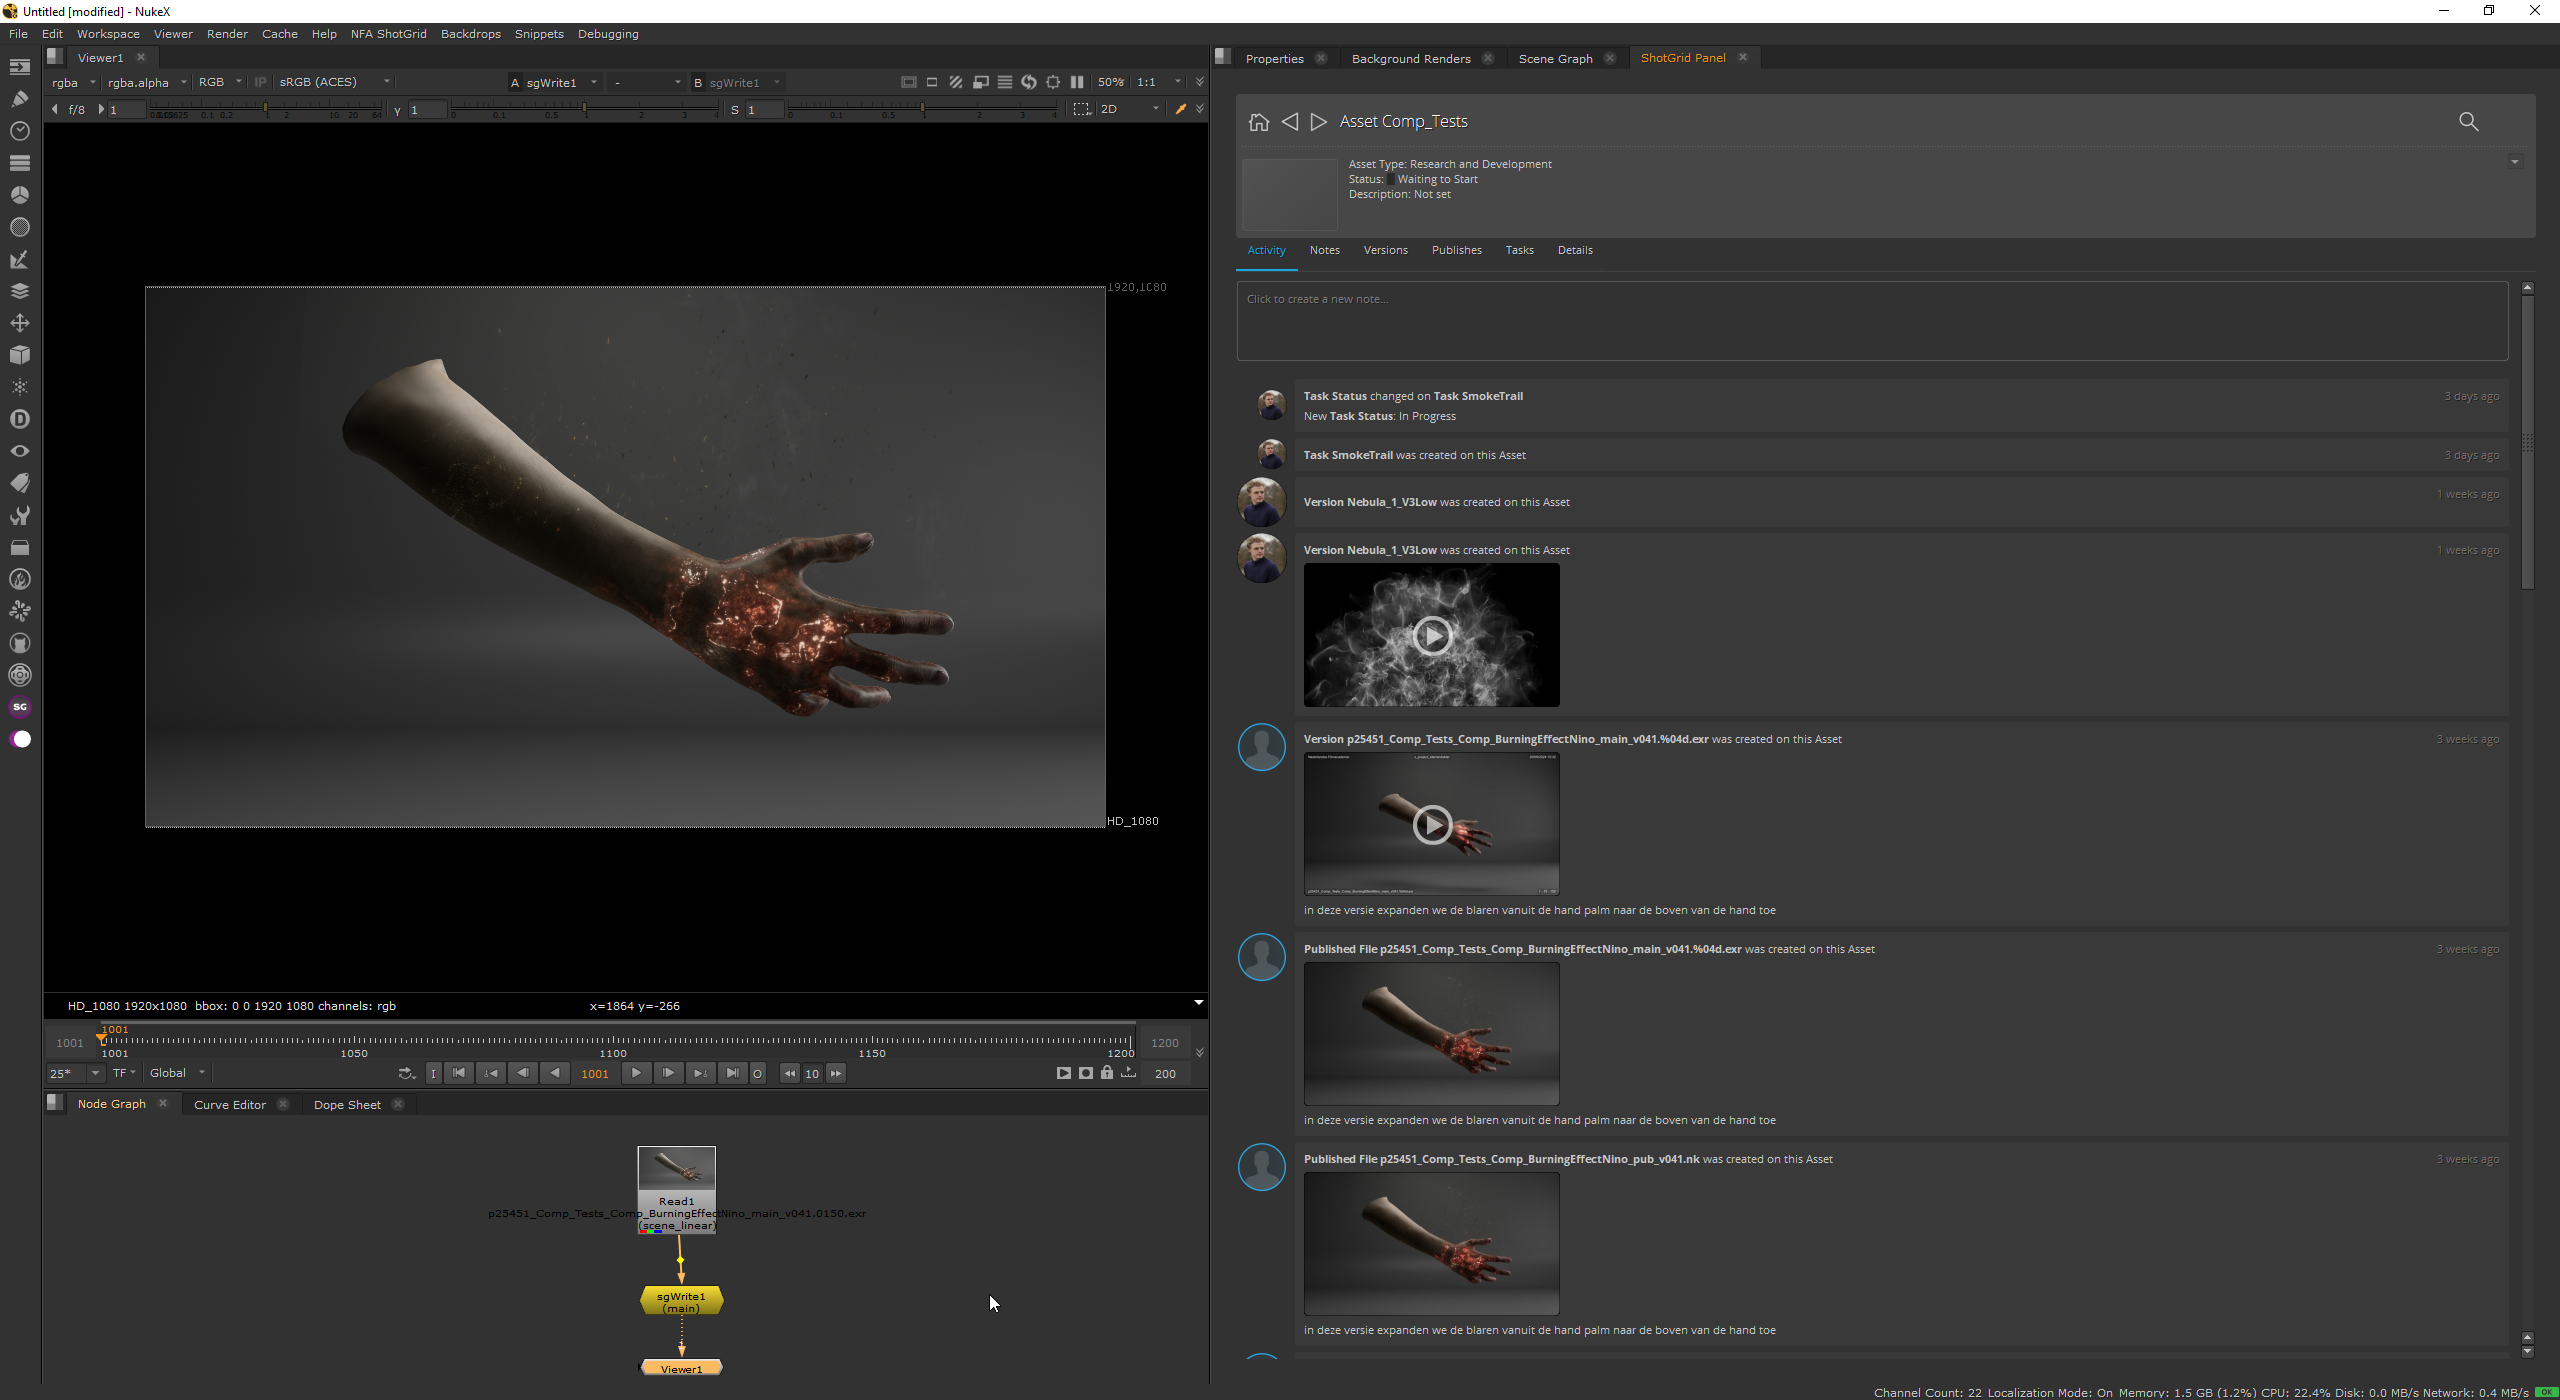
Core concepts: Publishing and loading
The two most import concepts in any pipeline are publishing and loading. Aka exporting things from one software and importing them into another software. Think of getting animations from Maya to Houdini, getting renders from Houdini to Nuke and getting final frames from Nuke to our editors. These things happen so often during the VFX creation process that we have them fully automated in all our software. Instead of going to the export menu in Maya, you'll go to the ShotGrid publish menu, and instead of filling in a file path, you'll just fill in a name and a description. The pipeline handles the rest, so then in Houdini instead of creating a node and filling in a file path, you just open the ShotGrid loader and click the load button. Files loaded through our pipeline can also be automatically updated, so when someone publishes a new version of their animation it's super easy to just press update in Houdini and have the latest version in your scene. Check out the documentation for each specific software to see how publishing and loading works in practice.
Continue reading the pages in this book to learn more about using our ShotGrid pipeline!
ShotGrid - Pipeline - General overview
Using our ShotGrid pipeline might be a bit intimidating at first as there's a lot you have to remember. Here's an overview of all the steps required for a typical school production:
- Create a project using the Project Creator.
- Add shots to the project using the ShotGrid website.
- Make a planning using the ShotGrid website.
- Ingest the VFX pull using Hiero.
- Do the VFX work using software that was launched with the ShotGrid launcher.
- Publish shots using the publishers inside the software. Here's how to do that in Nuke.
- Review the shots using the website or using RV in our viewing room.
- Export the shots using our Delivery tool and transfer them to the editor.
ShotGrid - Pipeline - Creating a project
The first step in any project that uses our ShotGrid pipeline is to create one using our project creator software. The project creator makes it easy to set up a project and makes sure your project gets created using the correct settings. You can open it up by going to the Windows start menu and searching for NFA ShotGrid Project Creator.
You have to use the project creator software. Do not create a project using the ShotGrid website.

Your ShotGrid account used during creation is automatically fetched from your school PC username, so make sure you run the application on your own computer. The software looks like this:

It pretty much speaks for itself, fill in all the fields, make sure all the validation is green, and click Create project!
Original command-line project creation tool by Gilles Vink, rewritten into a standalone GUI application by Mervin van Brakel.
ShotGrid - Pipeline - Opening software
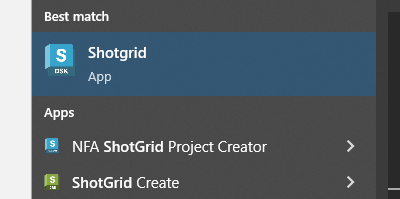
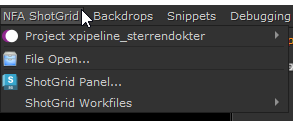
When working in our ShotGrid pipeline you should always launch software using the ShotGrid launcher. You can find it in the Windows start menu by searching for "Shotgrid":
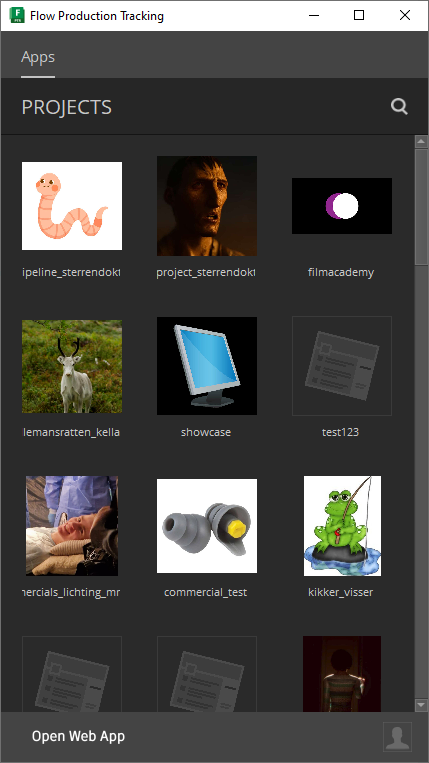
When you open it up you'll be asked to log in, once you've done that you'll be greeted with a window that shows all the projects you've been assigned to:
You can open a project by clicking on it. This will show all the software you can use for that project:
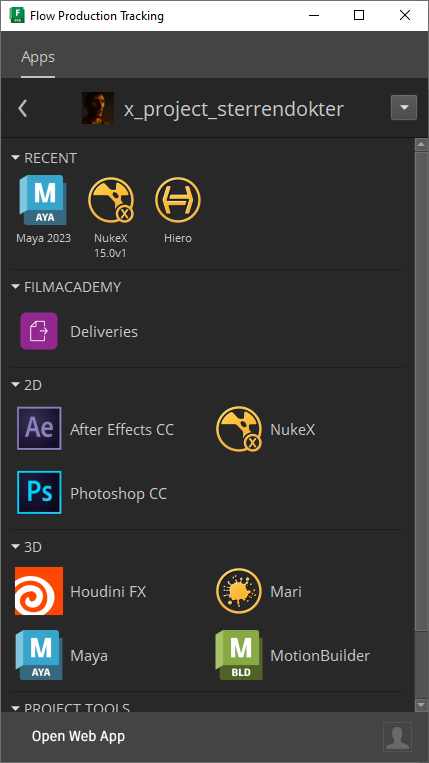
Click on the software to open it up. This will launch that software in a special environment where all our ShotGrid tools will be available.
You only have to click on a software once. If you click twice you'll open the software twice.
ShotGrid - Pipeline - Ingesting footage
This is a very important task in our ShotGrid pipeline and messing things up here could cause issues down the road. Be sure to read everything very carefully!
Ingesting footage into our pipeline is needed before the work can start on the school productions. This step will link the footage to the right shots in ShotGrid, as well as create Nuke files and preview videos. You can skip this step if you're working on a full CG project, just make sure you fill in the frame ranges correctly on all the shots.
Only follow this guide for ShotGrid projects created after April 15th, 2025!! Follow the old guide if your project was created before that date!!!
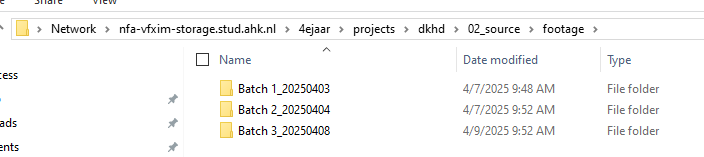
Step 1: Copy the files to the right spot on the storage server
Files should be copied from the Elements server to the footage folder of your ShotGrid project. The ShotGrid project folder will be created when you first open software on that project, so just open Hiero if the folder doesn't exist yet.
Step 2: Creating the Hiero file
We use Hiero to ingest our footage. Hiero allows you to make timelines and accurately review footage. It's based on Nuke so it should feel familiar.
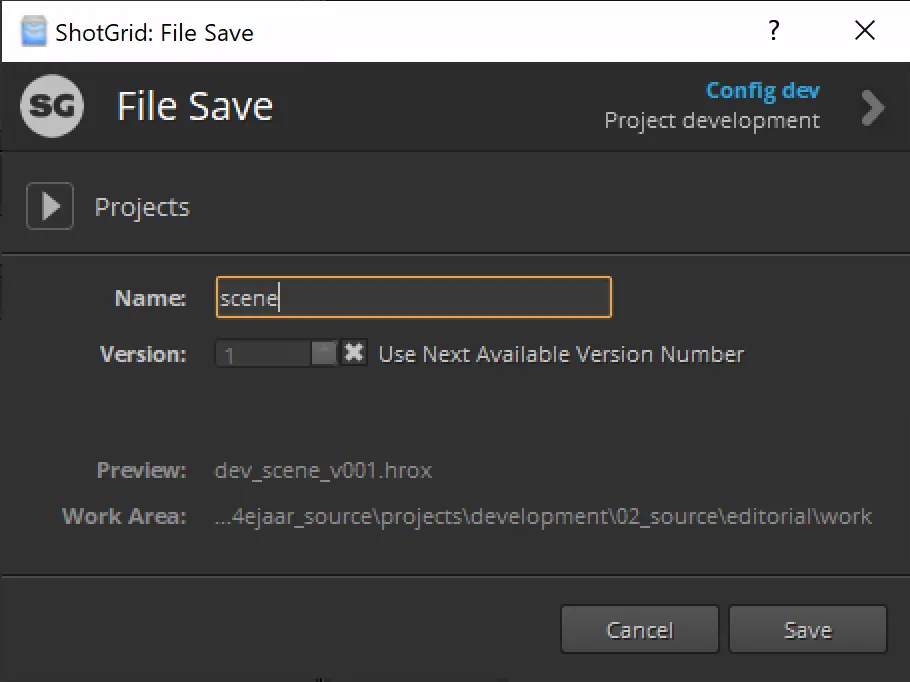
Open Hiero through the ShotGrid launcher and click file save. Name the file scene and click save.
Step 3: Importing shots into your Hiero file and setting the input transform
It's handy to make some folders where you can drop your shots into. Make a folder by pressing CTRL+B, do this for every scene in your project. After that you can drag and drop all the files in the right folder. We do not have any workflows for automatically ingesting extra plates such as clean plates, so only import your main plates.
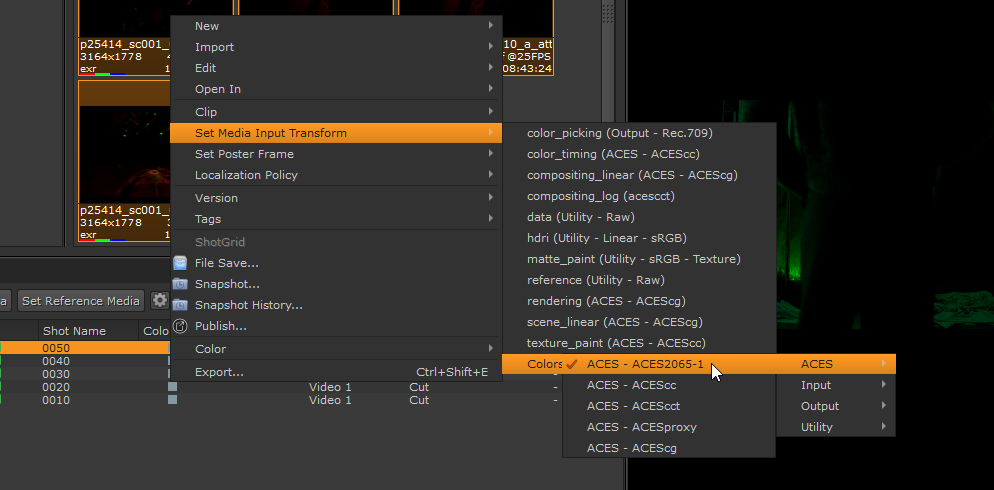
Select all your shots and apply the correct input transform. This will be ACES 2065-1 if the editors properly did the VFX pull. They never do though, so make sure to double check your footage!
Step 4: Adding the shots to the right sequence
You have two options when it comes to sequences and shots:
Option 1: You ingest the footage and let the pipeline create all the ShotGrid sequences and shots.
The pipeline will automatically create new ShotGrid sequences and shots on the website when you ingest footage and the sequences and shots don't exist yet. This is nice because it's a lot less manual work, but this also means your coordinators can't work on the planning yet until the shots are ingested.
Option 2: You first create all the shots in ShotGrid, then ingest the footage so they are added to the sequences and shots.
This is the preferred option if your class is good at planning, but this means that you must be extremely careful when naming your Hiero sequences and shots, as they have to be an exact match to the already existing sequences and shots on the ShotGrid website.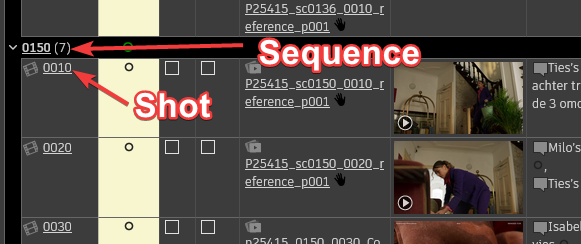
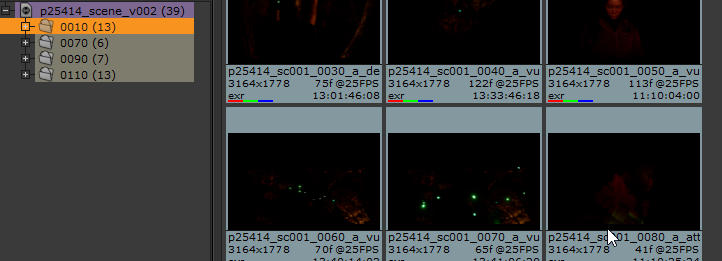
Now it's time to add our shots to the right sequence in Hiero. The name of the sequence should match the name of the scene you want/already have on the ShotGrid website. Start by making a new Hiero sequence for every scene in your project.

Then open every sequence and drag the shots that belong to that sequence into the sequence timeline. Make sure they are in the correct order!

After this you need to rename the shots in the timeline so they match the intended name in ShotGrid. You can do this by going to Editorial -> Rename Shots. It's easiest to use the sequential rename setting and setting the pattern to #### and the start and increment to 10. Sometimes your shots are not sequential, in this case you have to rename them manually with the Simple Rename option.
At the VFX department we use four digit (0000) sequence and shot names. They should use increments of 10 (0010, 0020, 0030, etc), as that allows us to add another shot or sequence later if something needs to be changed (0015, 0025, etc).
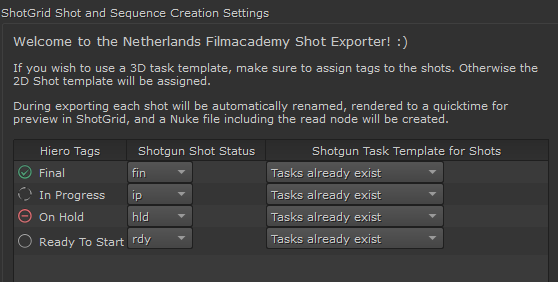
Step 5: Assign status tags
We have to assign tags to all the shots so Hiero knows which shots should be imported into ShotGrid. Do this by selecting the shots in the timeline and dragging the Ready to Start tag on them.
Step 6: Running the ingest
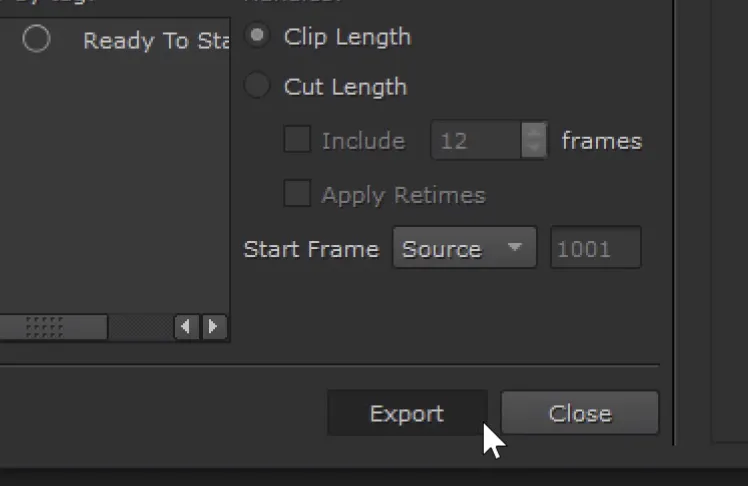
Everything is now ready for ingesting! Please do go back and check if all your sequence/shots names are correct, the input transform is set and if the status tags have been assigned. Once you've done that you can right click on your project and press Export.
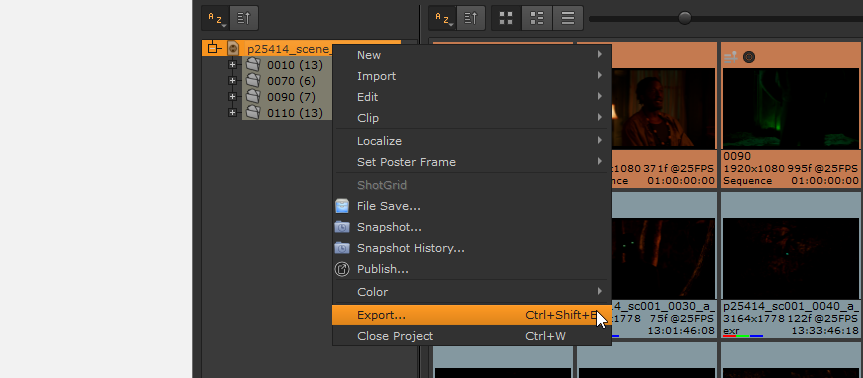
Now you can press Export!
That's it! You can now let Hiero ingest all your footage. This could take quite a while depending on the amount of shots.
Hiero ingest workflow by Gilles Vink.
ShotGrid - Pipeline - File management
This page shows examples in Nuke, but the same workflows apply to all software you can launch using the ShotGrid launcher.
Creating/opening files
You can manage your files by pressing "File Open...". This will open a new menu: 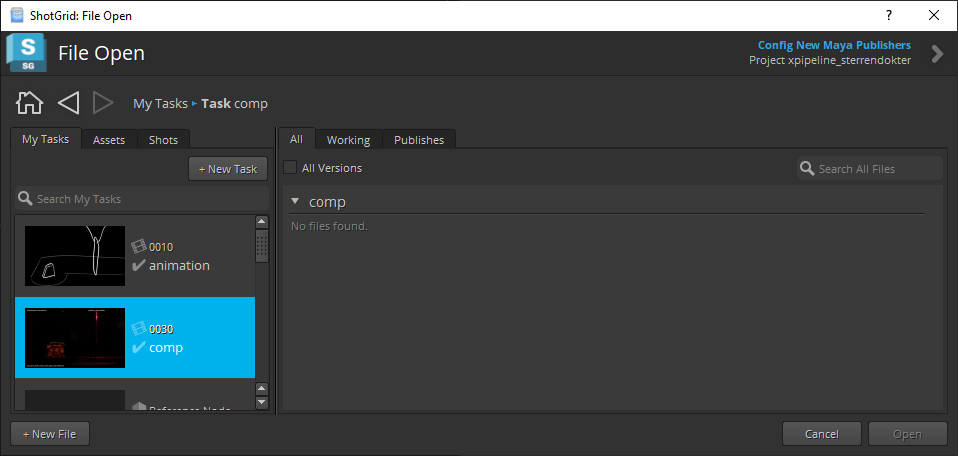
On the left you'll find the tasks you are currently assigned to. This makes it easy to get started right away, just select the task and press "+ New File" in the bottom left corner. You can also manually browse to a task if you're not assigned to one. Click on the Assets or Shots tabs and select a task there.
Can't find the tasks you're supposed to work on in the My Tasks section? Ask your supervisor to properly assign you to your tasks and make sure they set the task status to in progress.
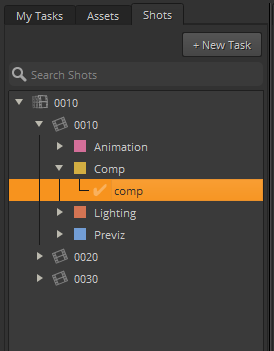
You can only create a new file when you select a task. A task has the little checkmark grey checkmark next to it. The "+ New File" button will be greyed out when you have a step selected, which are the items with the colored boxes next to them.
You can open files you've previously saved using the same interface.
Saving files
Do not save files using the regular saving tools of the software you're using! When working in our ShotGrid pipeline you always use the ShotGrid tools instead.
You should save your file right away after creating it. You can do this with the "File Save..." button which has appeared under the ShotGrid menu item. This will open a new menu:
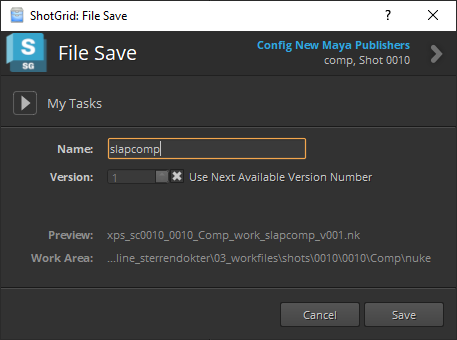
You only have to fill in a name and press save, as file paths are handled automatically. Feel free to leave the name on "main" if it's the main file for that task, but do give it a more descriptive name if it's not. After this your file is now saved in a special location, so the ShotGrid tools will be able to find it in the future. Once this is setup you can save your files just regularly using ctrl+s, however sometimes you'll have to go up a version when you save...
Versioning files
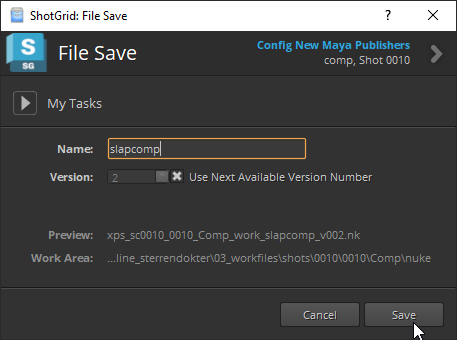
You should up the version of your file when example when you've made some big changes but still want to keep previous iterations. You can do this by simply pressing "File Save...", you'll see the version go up by one, after which you can press save.
Again, do not use the default "version up" shortcuts or buttons in the software you're using. Use the ShotGrid tools instead.
You can also press the little triangle next to "My Tasks" to save your file on another task.
File management tools largely unchanged from ShotGrid base implementation.
ShotGrid - Pipeline - Version control
We use the version control tool (also called Breakdown) to update loaded files to their latest version whenever new publishes are available. You can open it by going to the ShotGrid menu in your software and clicking on Version Control.

Outdated files will have a red cross next to them and up-to-date files a green check. You can select all outdated files by clicking "Select All Red" and update them by pressing "Update Selected".
Version control tools largely unchanged from ShotGrid base implementation.
ShotGrid - Pipeline - Delivery
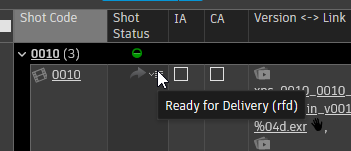
Once all the VFX work is done it's time to return the shots to the editors. We have a tool for this that makes this all very easy. First you should set the status of all the shots that are finished to Ready for Delivery:
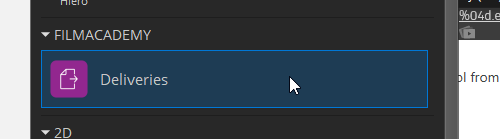
After that you can open the Deliveries tool from the ShotGrid launcher:
Check if the shot list is correct, then press Export shots:
That's it! You can find the exported files by pressing the Open delivery folder button. Those are the files you should copy to the Elements server.
Original delivery tool by Gilles Vink, current version by Mervin van Brakel.