
Pipeline - SG Dev - Making changes to our pipeline
Now that you know what engines, apps and the configuration are you're ready to make some changes. I'm sure you've also read the ShotGrid toolkit documentation like I said earlier, right?? Anyways, lets go over all the steps of making a minor pipeline change so you know how it all works.
Step 1: Create a sandbox configuration
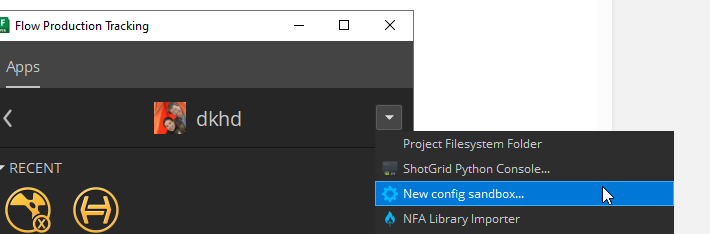
In order to test stuff you'll need a local copy of the ShotGrid configuration and tell ShotGrid to use that. This way you can try out a bunch of stuff without messing up the pipeline for everybody. Go to a ShotGrid project and click on the dropdown arrow and press New config sandbox...
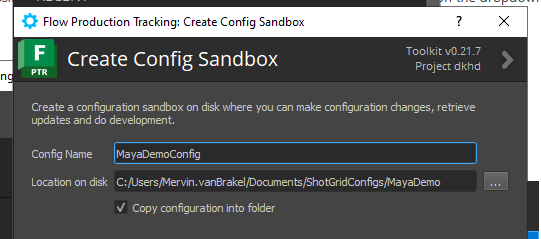
Give it a descriptive name and copy it to a handy location on disk. Make sure the copy checkmark is checked:
Now you have to exit the project and enter it again so the new configuration shows up:
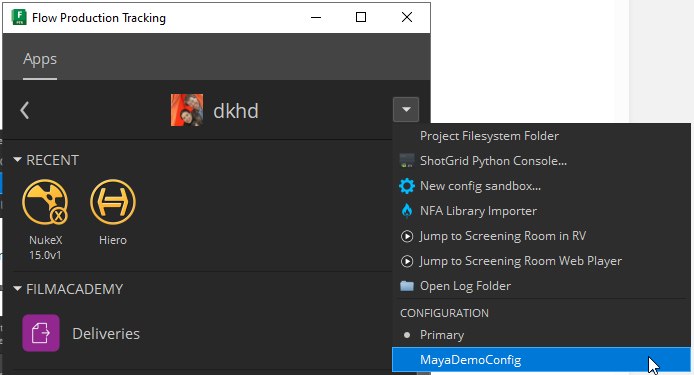
Select it. You're now working with a local config!
Step 2: Clone an engine or app
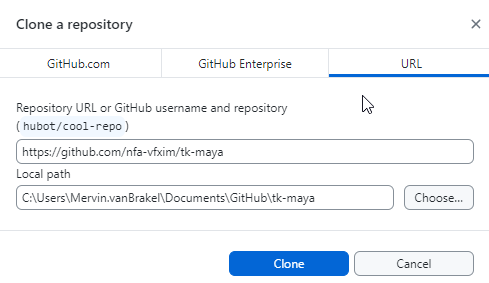
The workflow for working on either engines and apps is essentially the same. First you need to clone the repository. I'm cloning the tk-maya engine here as I'll be making a minor change to the publisher. You can use Git from the command line of course, but I like GitHub desktop because I'm not a huge nerd.
Step 3: Change your config to use the cloned engine or app
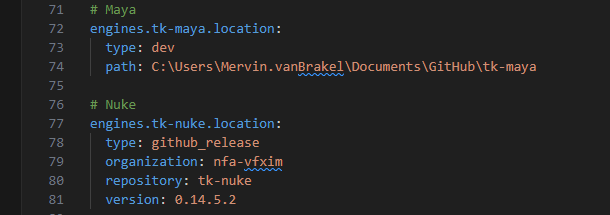
Browse over to where you have your config cloned and browse to the env -> includes folder. Here you'll find two files: app_locations.yml and engine_locations.yaml. Open the right file depending on what you're working on. I'm working on an engine, so I'll open engine_location.yaml. Find the engine or app you want to locally develop and change the type to dev and set the path to where you cloned the repository:
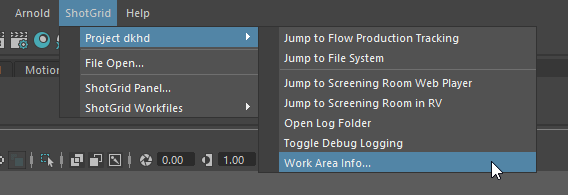
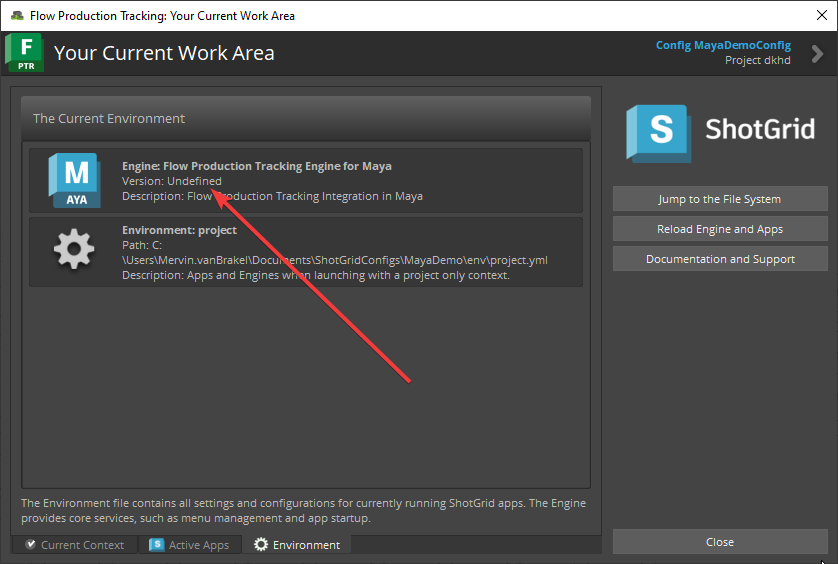
Now reload your ShotGrid config by exiting the ShotGrid project in the launcher and entering it again. Now you are using the code that's on your local machine! You can verify you've done this correctly by going to the Work Area Info window:
To verify you are using local code you can now look at either the app or environment tab (depends on what you're working on). If the version is undefined you know you're working locally!
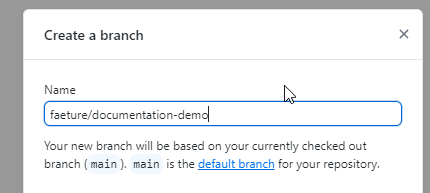
Step 4: Make a new Git branch
It's best practice to work on a separate Git branch for the engine or app you're working on. So go ahead and make one, then switch to that.
Step 5: Make changes to the code
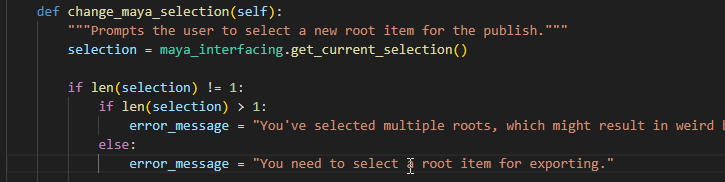
Now you can make changes to the engine or app code and try them out. Let's say I want to be a bit more aggressive about telling users to select a root item in their Maya publish. I'd fine the line of code that sets the error message and then change that.
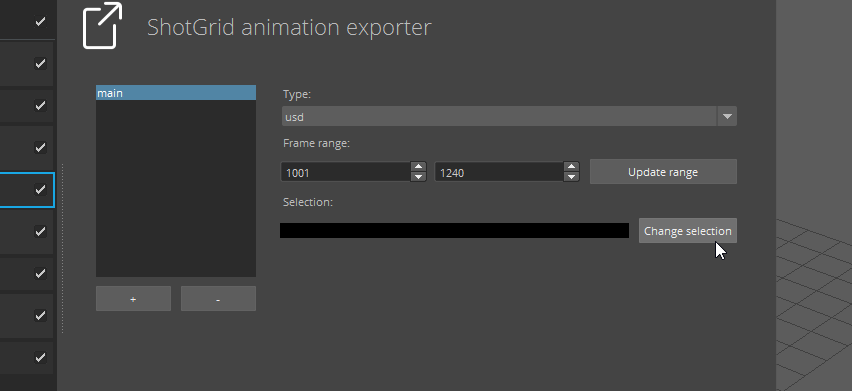
After changing the code you should save your file and then press the Reload Engine and Apps button that's in the Work Area Info window. Now the new code is used in Maya:
Step 6: Commit, pull request and merge
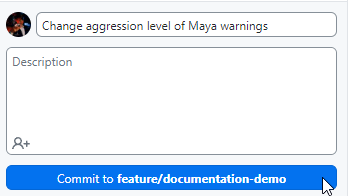
Once your code changes are done you can commit and push them to the repository.
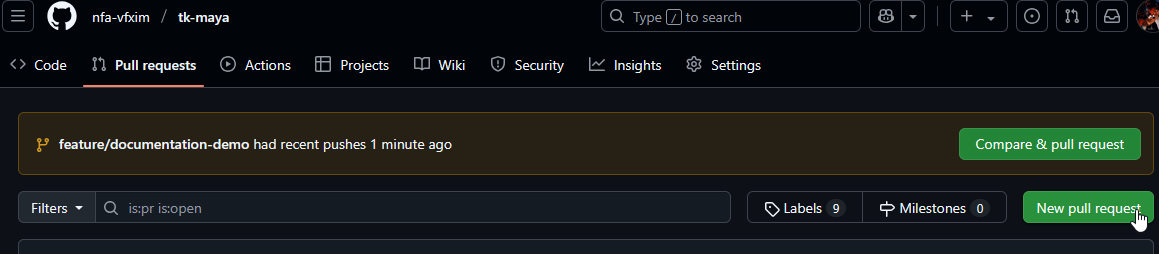
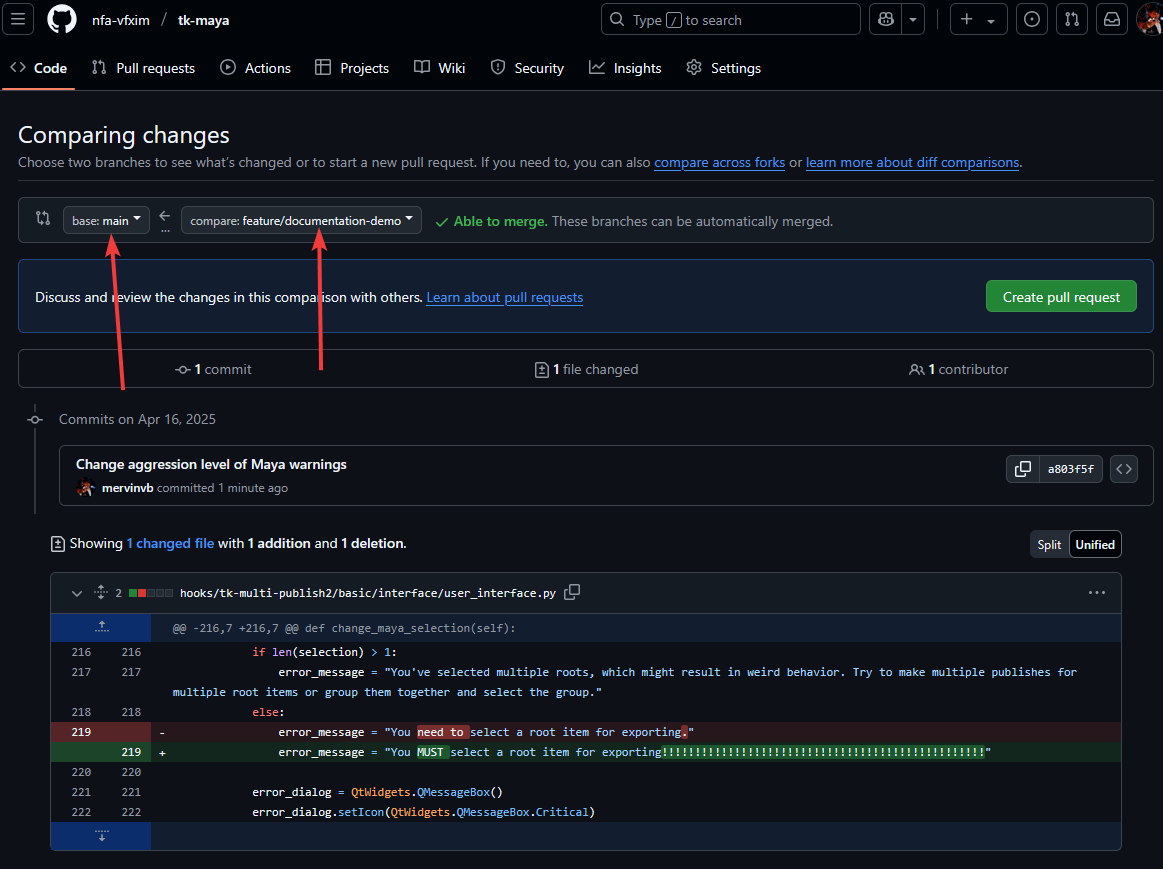
Now that your changes are pushed you can make a pull request to get your code to the main branch of the engine/app. Browse to the repository on GitHub and press the New pull request button.
Select the right branches and press Create pull request.
Select the branch on the nfa-vfxim organization, never the one from ShotGrid!!
Now it's time to merge. Most of our branches are protected, so if there's another Pipeline TD student you should ask them to review your code! If not, just bypass the requirements and merge that branchy boy.
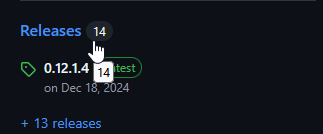
Step 7: Create a release and update the configuration
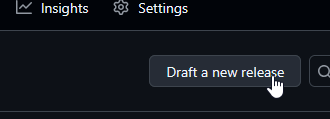
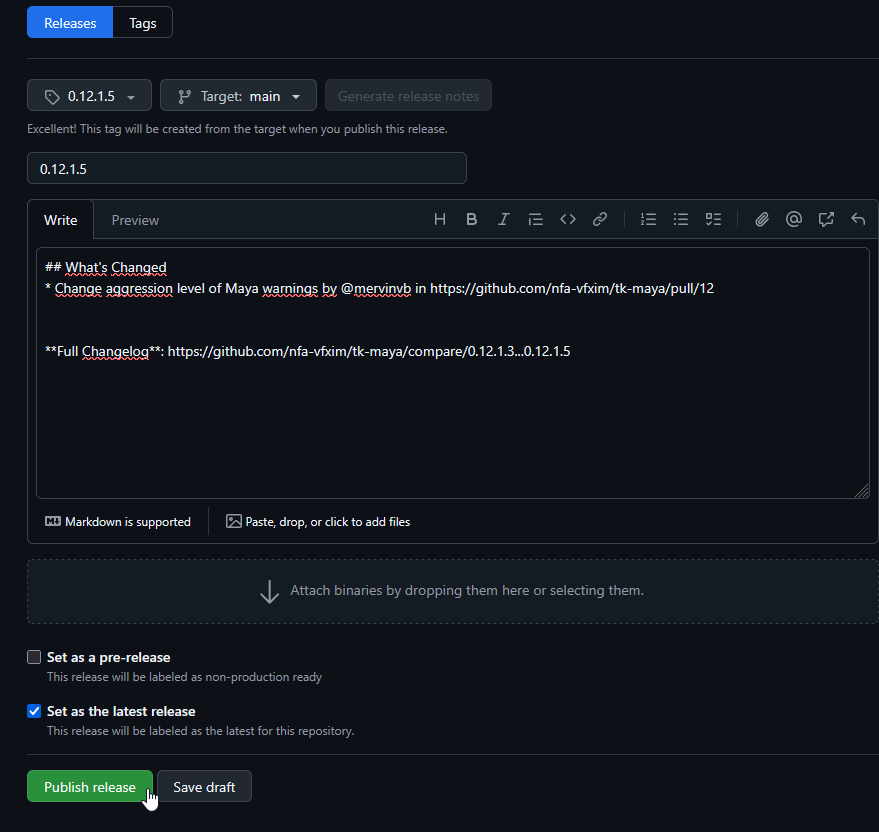
Almost done. Now you have to go to the Releases page on the engine or app repository you've worked on and make a new release:
Increment the tag version a little bit. We don't really have any good conventions for this, just use your pipeline wisdom and come up with something good (incrementing the last digit will do just fine).
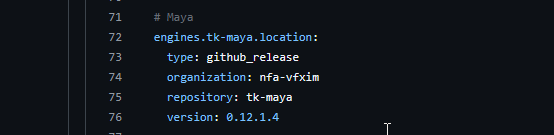
Now go over to the ShotGrid configuration repository and set the version of that engine or app to the one you've just created.created: 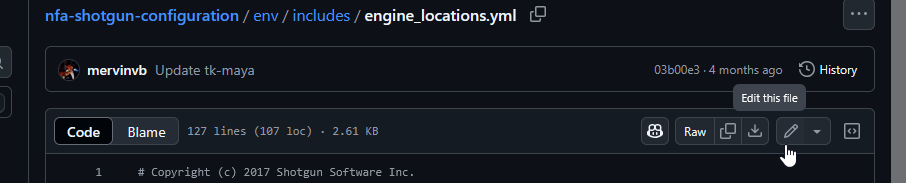
Commit your changes and voila! You've made a change to our ShotGrid pipeline! Your changes will now be fetched by all the computers when they open their ShotGrid launcher. I hope you haven't made any mistakes, as that causes all the VFX projects to grind to a halt while you scramble to fix your little typo that caused the configuration to not load properly :)