Using the DMX system
The green screen studio is equipped with customizable DMX lights. These lights are used to illuminate both the green screen and the subject. To turn on the lights, you need to activate the correct switch in the fuse box (this will no longer be necessary in the future). The Raspberry Pi will then automatically start up. It may take a few seconds for the system to boot. There are three ways to control the lights.
The Digital Interface
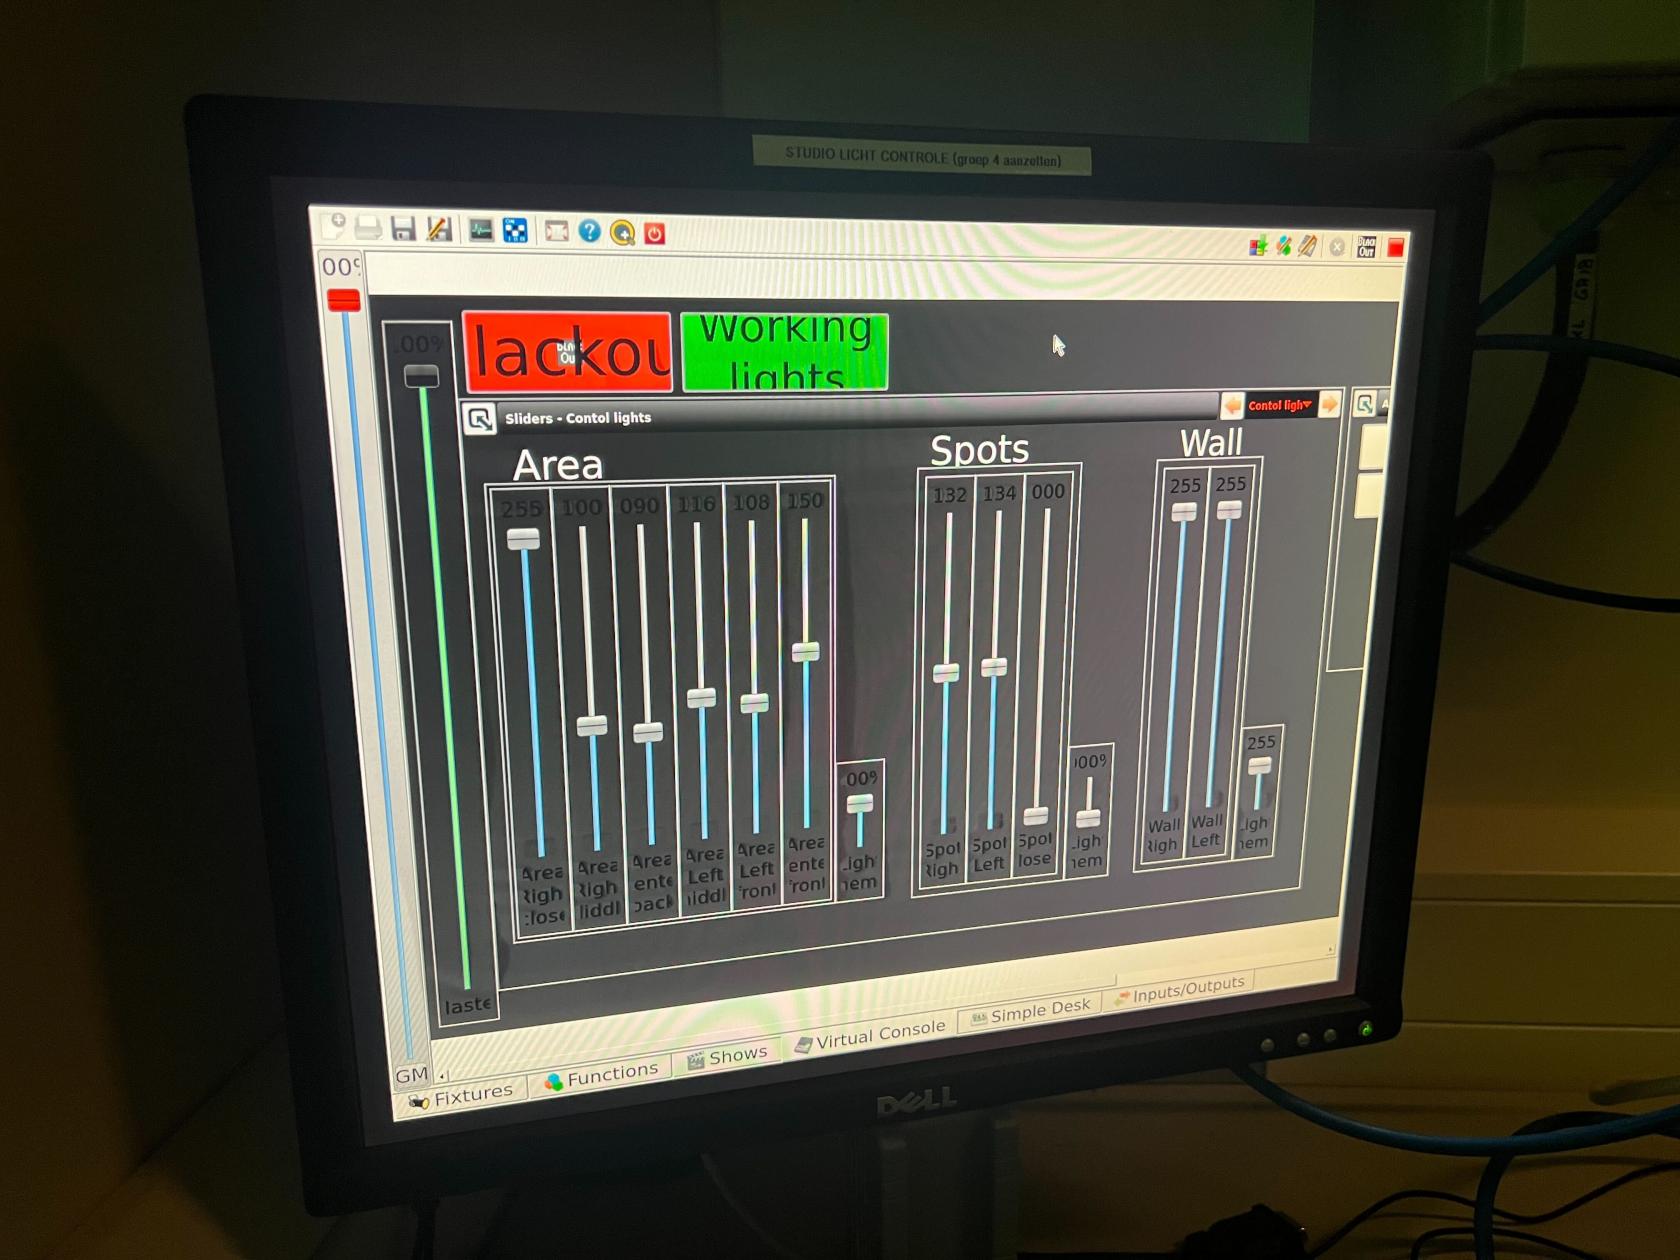
The most reliable way to control the lights is with the mouse. On the screen, you’ll see the digital interface, which can be operated with the mouse. Each slider is labeled with the corresponding light it controls, and there are also sliders for adjusting color. On the right side of the screen (you may need to scroll), there are buttons to play animations.
The Physical Interface
Next to the screen, there is a console with physical sliders. These control the same lights as the digital interface. If the physical interface is not working, you need to restart the Raspberry Pi. You can do this by clicking the red "Exit QLC" button.
The Web Interface
The last way to control the lights is through the web app, which requires connection to the Stud network. Details on how to access the web app can be found in the Raspberry Pi QLC documentation.
Trouble shooting
If case the lights do not work as intended, check the following.
Monitor doesn't turn on -> Check if all cables are connected. If so, make sure the Raspberry has power.
All lights are off -> Check if "blackout" is turned off. Check if the lights themselves receive power. Otherwise, restart QLC
Lights are turned on, but not changing -> Check if all DMX cables are connected. If so, restart QLC


