
Houdini - ShotGrid - Shading workflow
We have some automated tools which make shading assets a lot simpler. Here's what you need before shading your asset:
- A model published in Maya using the Alembic publisher.
- Textures for that model published in Substance or Mari using the ShotGrid publisher.
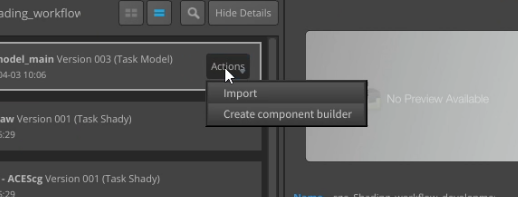
Open Houdini and create a file through the ShotGrid menu. Open the loader and load in your model using the "component builder" loader. This will place a component builder template into your scene.
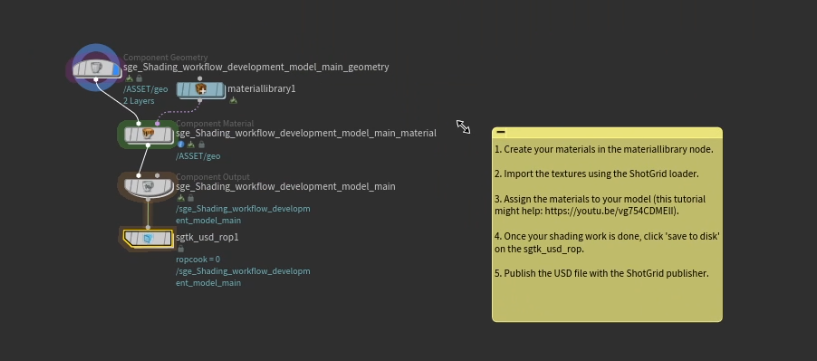
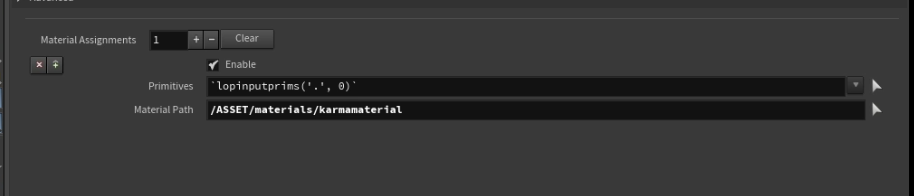
Your model is placed in the Component Geometry node automatically. You should now create a Karma material inside the Material Library node and give it a good name. Go over to the "Component Material" node and make sure your Material path is set up correctly:
After this you can open the loader again and browse to your published textures. When you load them in a new menu appears:
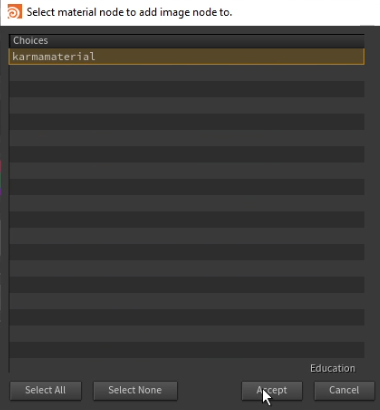
Select the correct material and press accept. A new pop-up now appears asking if you want the textures to be automatically added to the correct inputs. Click yes if you want this.
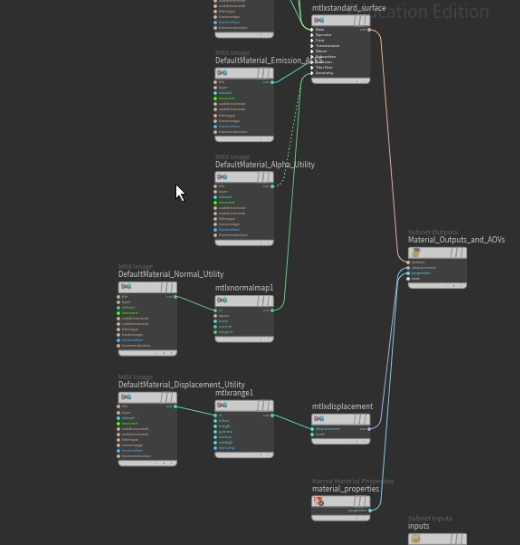
After this you'll have a good base material setup to start with! Continue your shading as usual until it's all done, then it's time to publish.
You can save your asset by clicking on the "Save to Disk" button that's in the SGTK USD node at the bottom of the component builder setup. Now you can click on "Publish..." in the ShotGrid menu, here your file will show up. Press publish to publish your now shaded asset.
Shading tools by Mervin van Brakel.