
Substance Painter - ShotGrid - Setting up your .spp project file
Substance Painter requires a little bit more setup than other programs in our ShotGrid pipeline. This page will guide you through setting up your project file when you're starting with a new model.
First, open Substance Painter using the ShotGrid launcher.
Substance not showing up in the launcher? Double check you have version 10.0.1 installed properly. Still not showing up? Substance might not have been added to your project yet in ShotGrid, ask a pipeline TD to add it in the ShotGrid software tab.
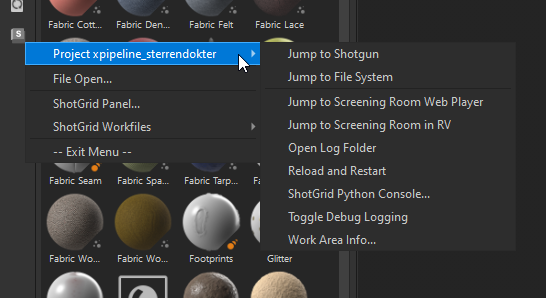
You will find the ShotGrid menu on the left side of the Substance Painter interface:
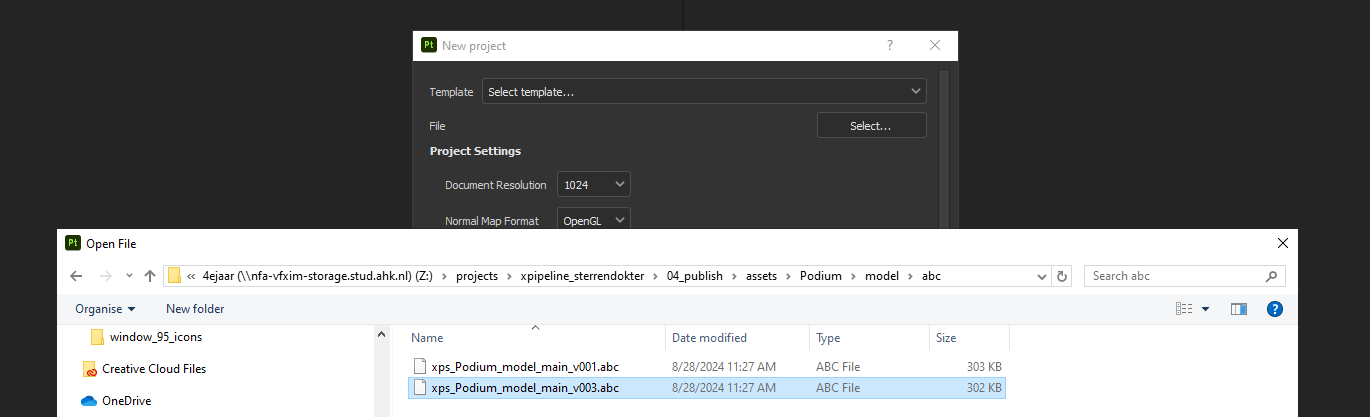
Let's create our project file! Press ctrl+n to open the new project menu. Unfortunately we have no way of automatically loading in a published model, so you'll have to find the model you want to shade in the publish folder of the ShotGrid project. Finding it shouldn't be too difficult.
Make sure you're loading the file from the Z: drive. No Z: drive mounted? Follow the guide here and mount the correct storage location to the Z: drive.
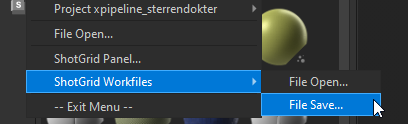
Set your resolution, etc, and press OK. Now you need save the file using ShotGrid Workfiles -> File Save in the ShotGrid menu:
This will open up a new menu. Browse to your task, give your file a name and press Save.

After this you'll be open the file again like normal using file open.