
ShotGrid - Pipeline - Ingesting footage
This is a very important task in our ShotGrid pipeline and messing things up here could cause issues down the road. Be sure to read everything very carefully!
Ingesting footage into our pipeline is needed before the work can start on the school productions. This step will link the footage to the right shots in ShotGrid, as well as create Nuke files and preview videos. You can skip this step if you're working on a full CG project, just make sure you fill in the frame ranges correctly on all the shots.
Only follow this guide for ShotGrid projects created after April 15th, 2025!! Follow the old guide if your project was created before that date!!!
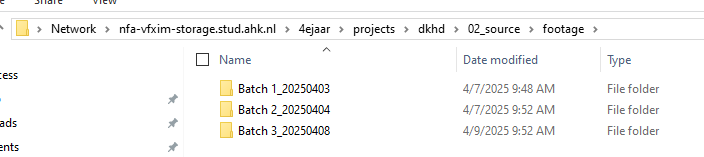
Step 1: Copy the files to the right spot on the storage server
Files should be copied from the Elements server to the footage folder of your ShotGrid project. The ShotGrid project folder will be created when you first open software on that project, so just open Hiero if the folder doesn't exist yet.
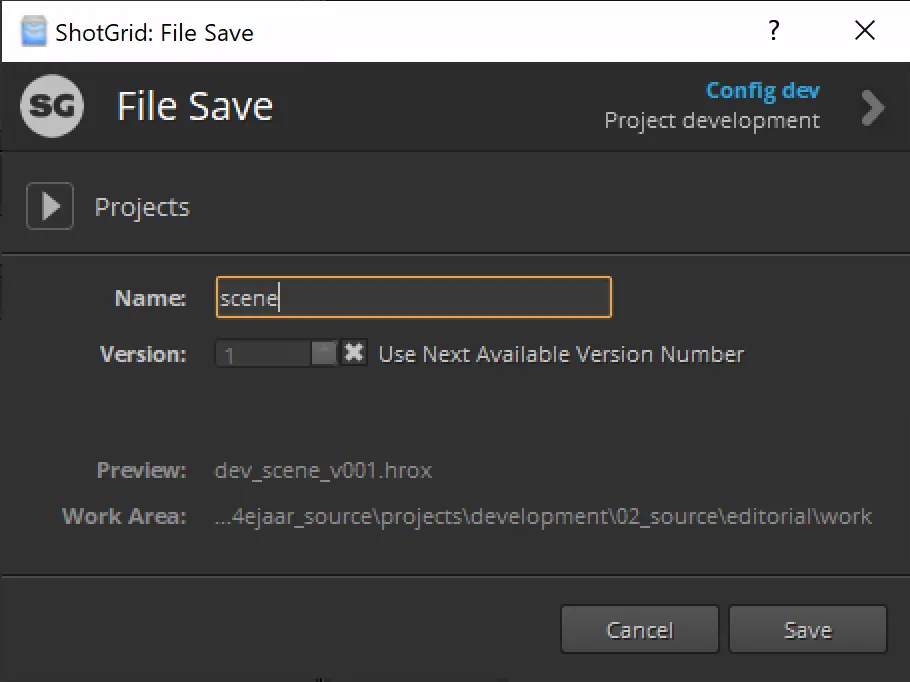
Step 2: Creating the Hiero file
We use Hiero to ingest our footage. Hiero allows you to make timelines and accurately review footage. It's based on Nuke so it should feel familiar.
Open Hiero through the ShotGrid launcher and click file save. Name the file scene and click save.
Step 3: Importing shots into your Hiero file and setting the input transform
It's handy to make some folders where you can drop your shots into. Make a folder by pressing CTRL+B, do this for every scene in your project. After that you can drag and drop all the files in the right folder. We do not have any workflows for automatically ingesting extra plates such as clean plates, so only import your main plates.
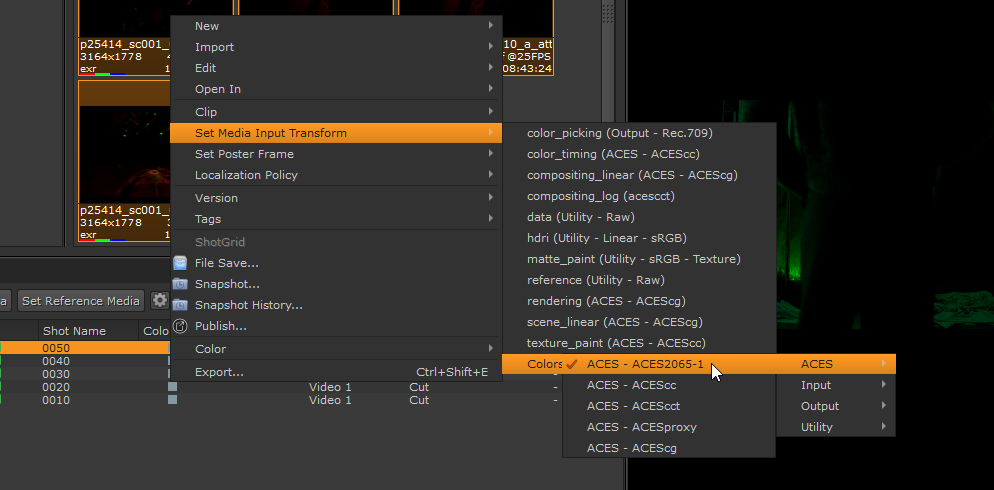
Select all your shots and apply the correct input transform. This will be ACES 2065-1 if the editors properly did the VFX pull. They never do though, so make sure to double check your footage!
Step 4: Adding the shots to the right sequence
You have two options when it comes to sequences and shots:
Option 1: You ingest the footage and let the pipeline create all the ShotGrid sequences and shots.
The pipeline will automatically create new ShotGrid sequences and shots on the website when you ingest footage and the sequences and shots don't exist yet. This is nice because it's a lot less manual work, but this also means your coordinators can't work on the planning yet until the shots are ingested.
Option 2: You first create all the shots in ShotGrid, then ingest the footage so they are added to the sequences and shots.
This is the preferred option if your class is good at planning, but this means that you must be extremely careful when naming your Hiero sequences and shots, as they have to be an exact match to the already existing sequences and shots on the ShotGrid website.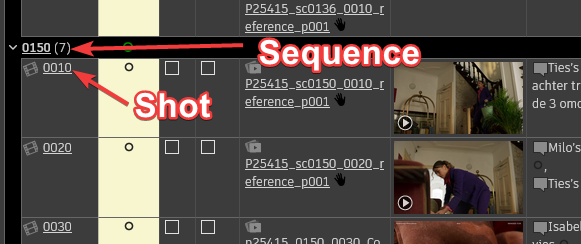
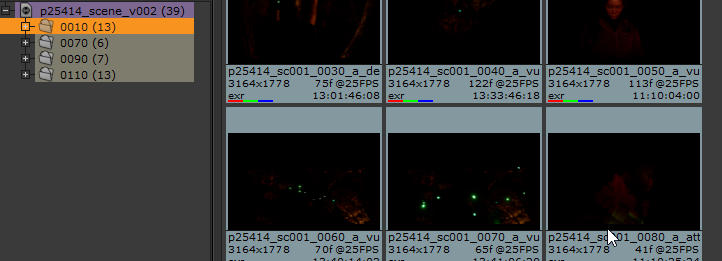
Now it's time to add our shots to the right sequence in Hiero. The name of the sequence should match the name of the scene you want/already have on the ShotGrid website. Start by making a new Hiero sequence for every scene in your project.

Then open every sequence and drag the shots that belong to that sequence into the sequence timeline. Make sure they are in the correct order!

After this you need to rename the shots in the timeline so they match the intended name in ShotGrid. You can do this by going to Editorial -> Rename Shots. It's easiest to use the sequential rename setting and setting the pattern to #### and the start and increment to 10. Sometimes your shots are not sequential, in this case you have to rename them manually with the Simple Rename option.
At the VFX department we use four digit (0000) sequence and shot names. They should use increments of 10 (0010, 0020, 0030, etc), as that allows us to add another shot or sequence later if something needs to be changed (0015, 0025, etc).
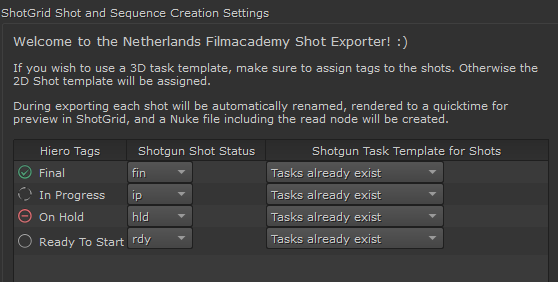
Step 5: Assign status tags
We have to assign tags to all the shots so Hiero knows which shots should be imported into ShotGrid. Do this by selecting the shots in the timeline and dragging the Ready to Start tag on them.
Step 6: Running the ingest
Everything is now ready for ingesting! Please do go back and check if all your sequence/shots names are correct, the input transform is set and if the status tags have been assigned. Once you've done that you can right click on your project and press Export.
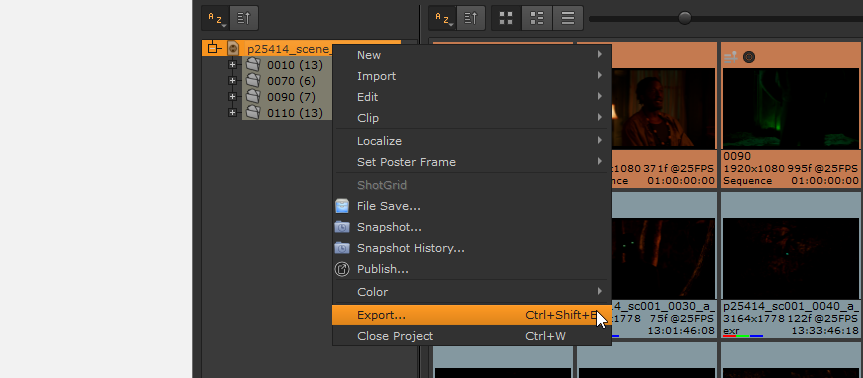
Now you can press Export!
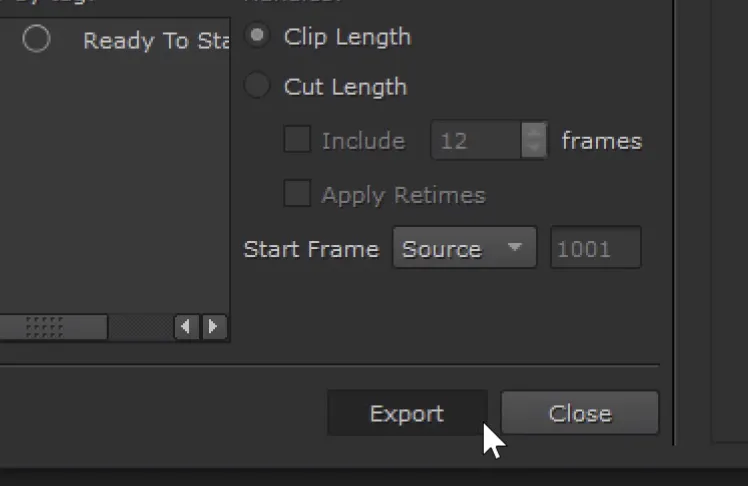
That's it! You can now let Hiero ingest all your footage. This could take quite a while depending on the amount of shots.
Hiero ingest workflow by Gilles Vink.
No Comments