
ShotGrid - Pipeline - Ingesting footage
This is a very important task in our ShotGrid pipeline and messing things up here could cause issues down the road. Be sure to read everything very carefully!
Ingesting footage into our pipeline is needed before the work can start. This step will link the footage to the right shots in ShotGrid, as well as create Nuke files and preview videos.
Only follow this guide for ShotGrid projects created after April 4th, 2025!! Follow the old guide if your project was created before that date!!!
Step 1: Copy the files to the right spot on the storage server
Files should be copied from the Elements server to the footage folder of your ShotGrid project. The ShotGrid project folder will be created when you first open software on that project, so just open Hiero if the folder doesn't exist yet.
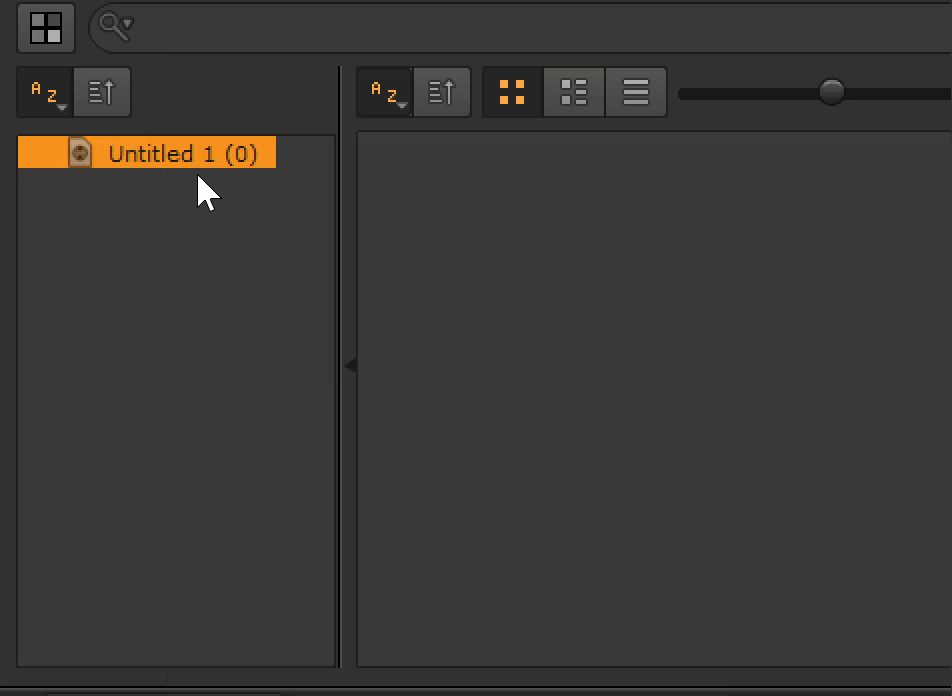
Step 2: Creating the Hiero file
We use Hiero to ingest our footage. Hiero allows you to make timelines and accurately review footage. It's based on Nuke so it should feel familiar.
Open Hiero through the ShotGrid launcher and click file save. Name the file scene and click save.
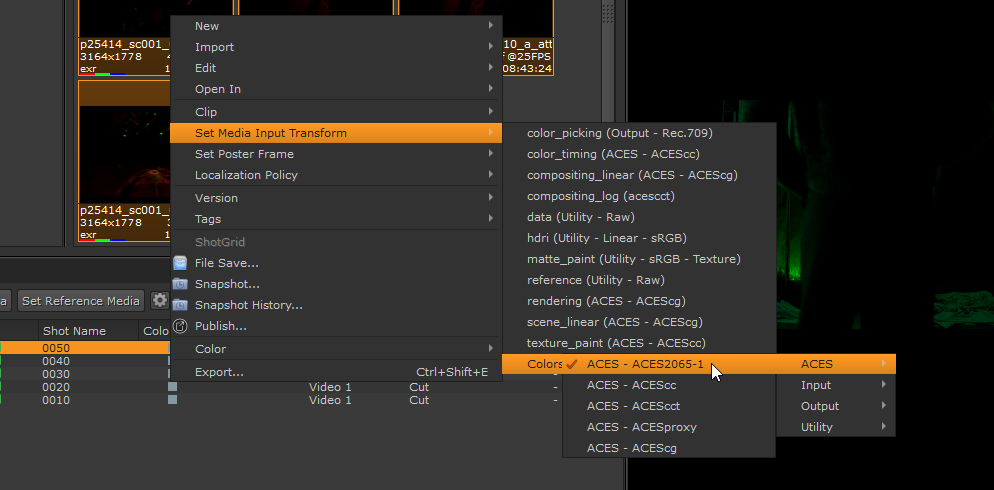
Step 3: Adding shots to your Hiero file and setting the input transform
It's handy to make some folders where you can drop your shots into. Make a folder by pressing CTRL+B, do this for every scene in your project. After that you can drag and drop all the files in the right folder.
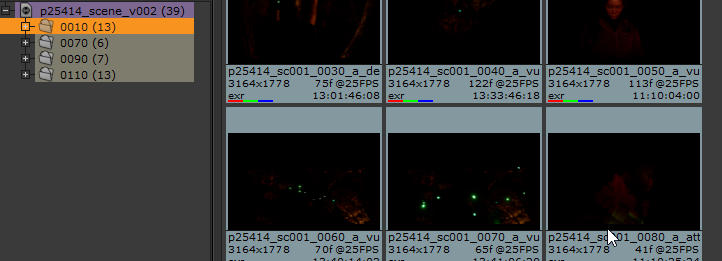
Select all your shots and apply the correct input transform. This will be ACES 2065-1 if the editors properly did the VFX pull. They never do though, so make sure to double check your footage!
Hiero ingest workflow by Gilles Vink.